This guide walks you through the process of setting up and integrating Azure OpenAI with MagicAI. Whether you’re deploying your first model or connecting an existing Azure subscription, these steps will help you get everything configured quickly and correctly. By the end of this setup, you’ll be able to select and use your deployed Azure OpenAI models directly within MagicAI’s AI Chat interface.
Make sure you have access to an active Azure account and subscription before you begin. Let’s get started!
Azure OpenAI Setup Instructions
Go to https://ai.azure.com/
Sign in with your Microsoft account or create a new one if you don’t have it.
Ensure you have an active Azure subscription.
If not, sign up and create one here: https://signup.azure.com/signup
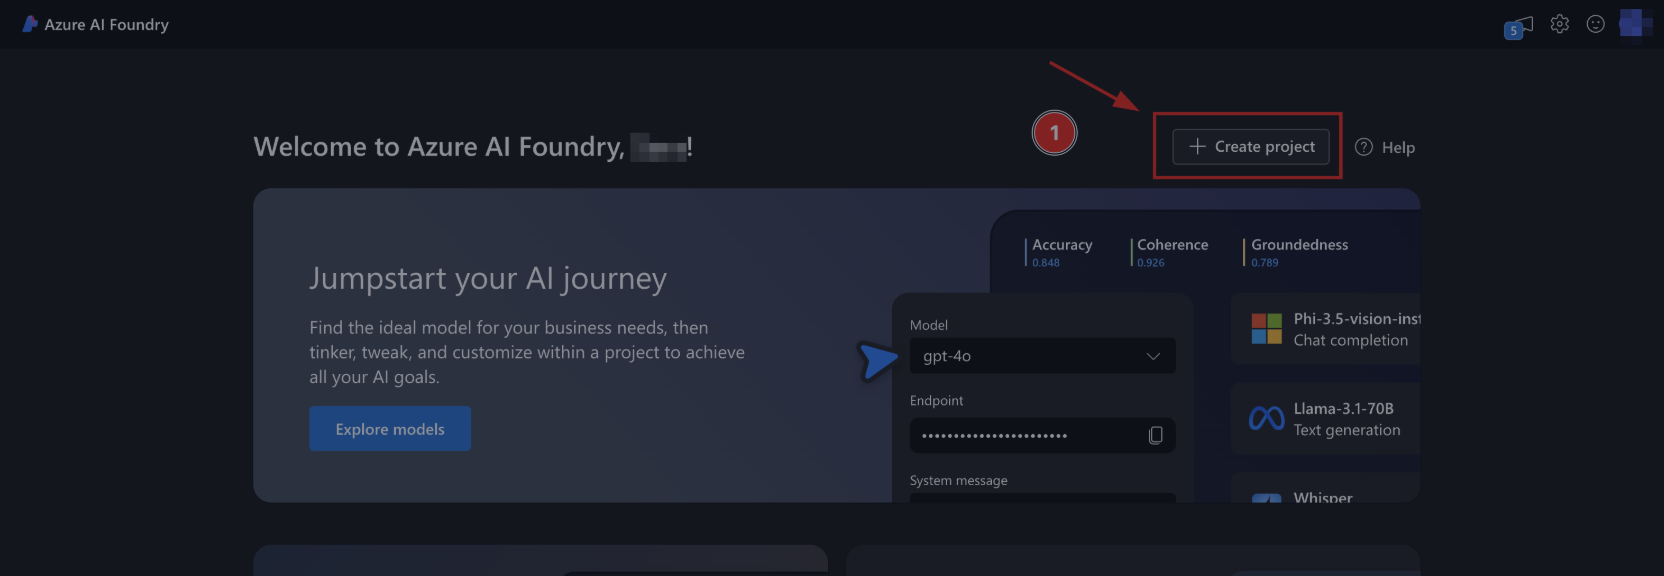
Return to https://ai.azure.com and create a new project.
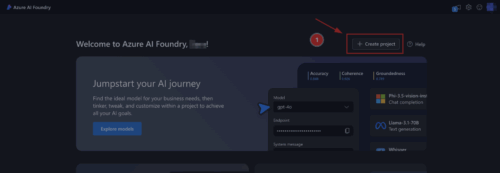
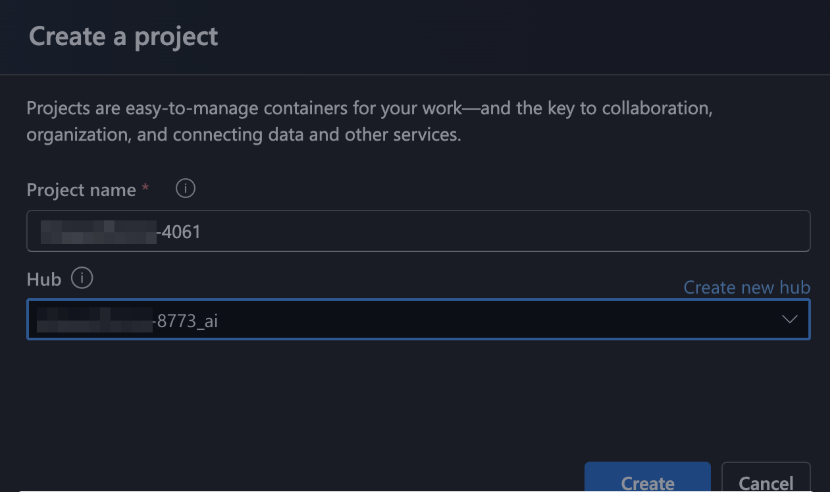
Enter your project name and select a hub.

If you don’t have one, create a new hub.
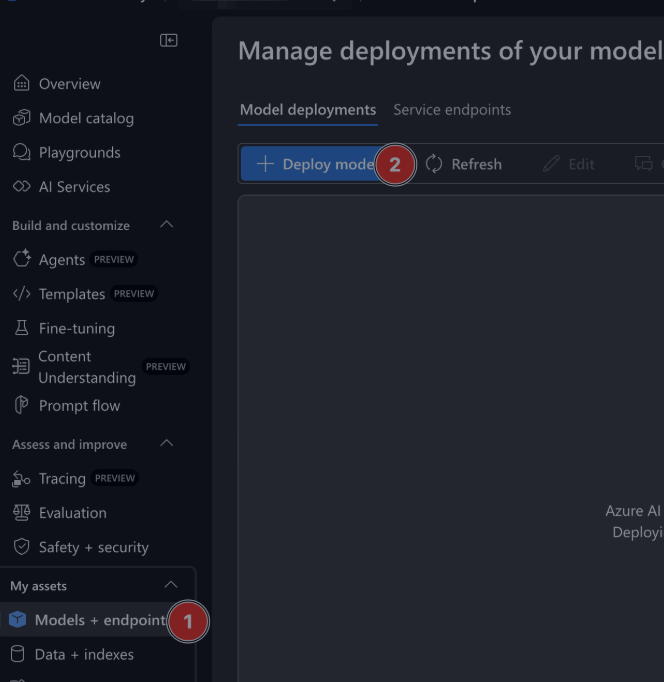
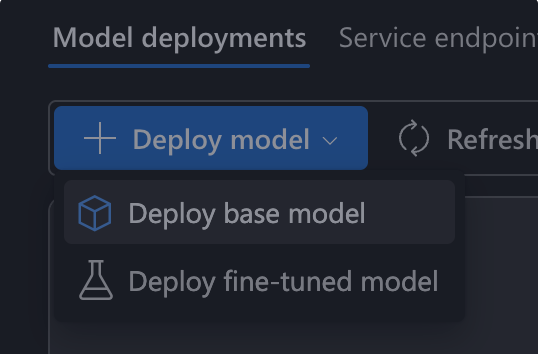
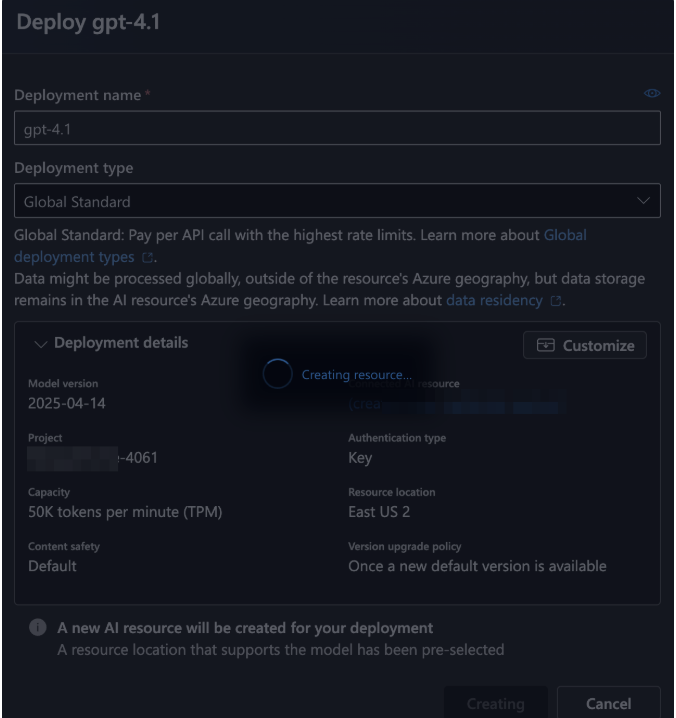
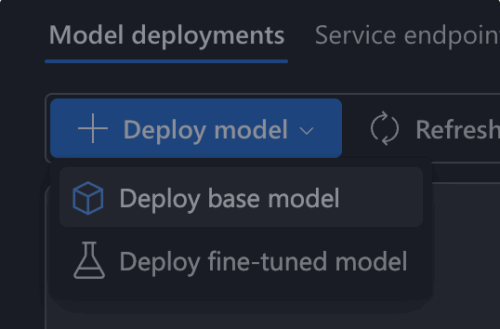
In the left-hand menu, click on “Models” to deploy a new model.

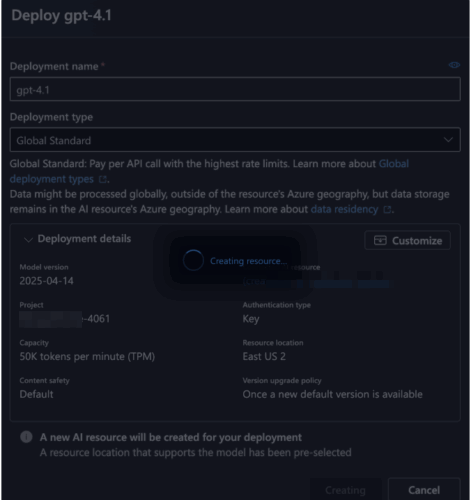
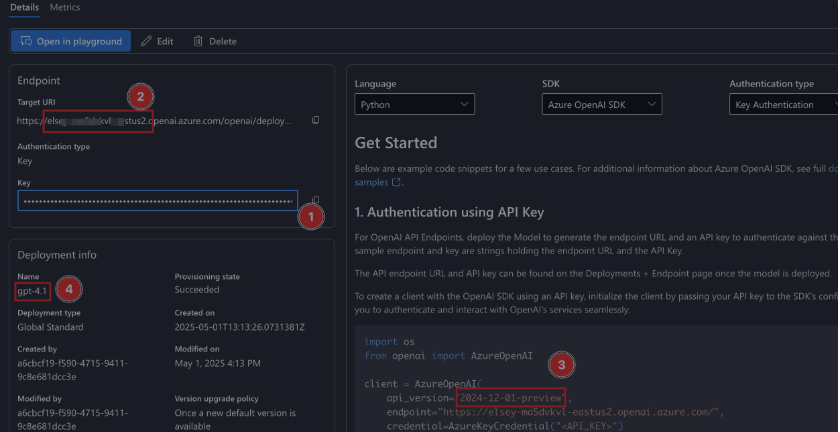
Once the model is created, copy the following details:
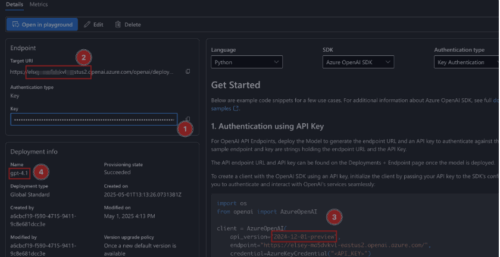
API Key
Endpoint (domain)
API Version
Model Name
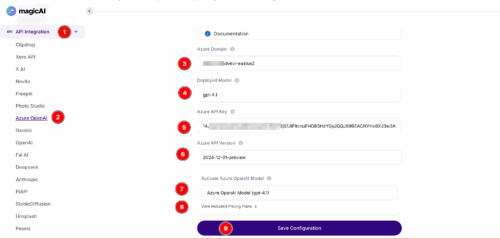
Install the extension, then fill in the required information in MagicAI and save.
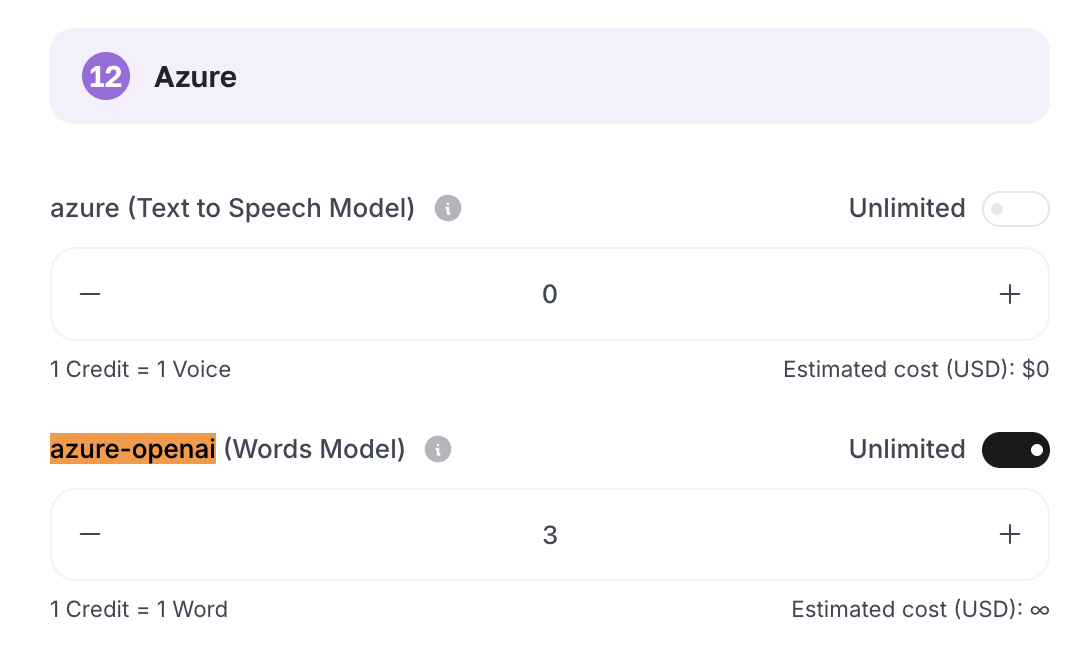
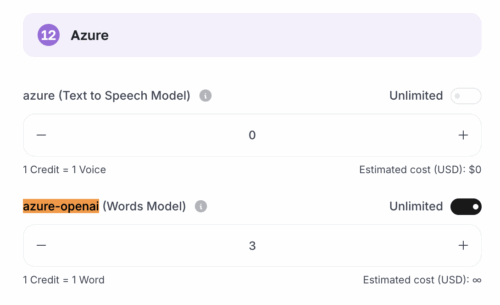
Add credits for a specific user or assign them to a plan.
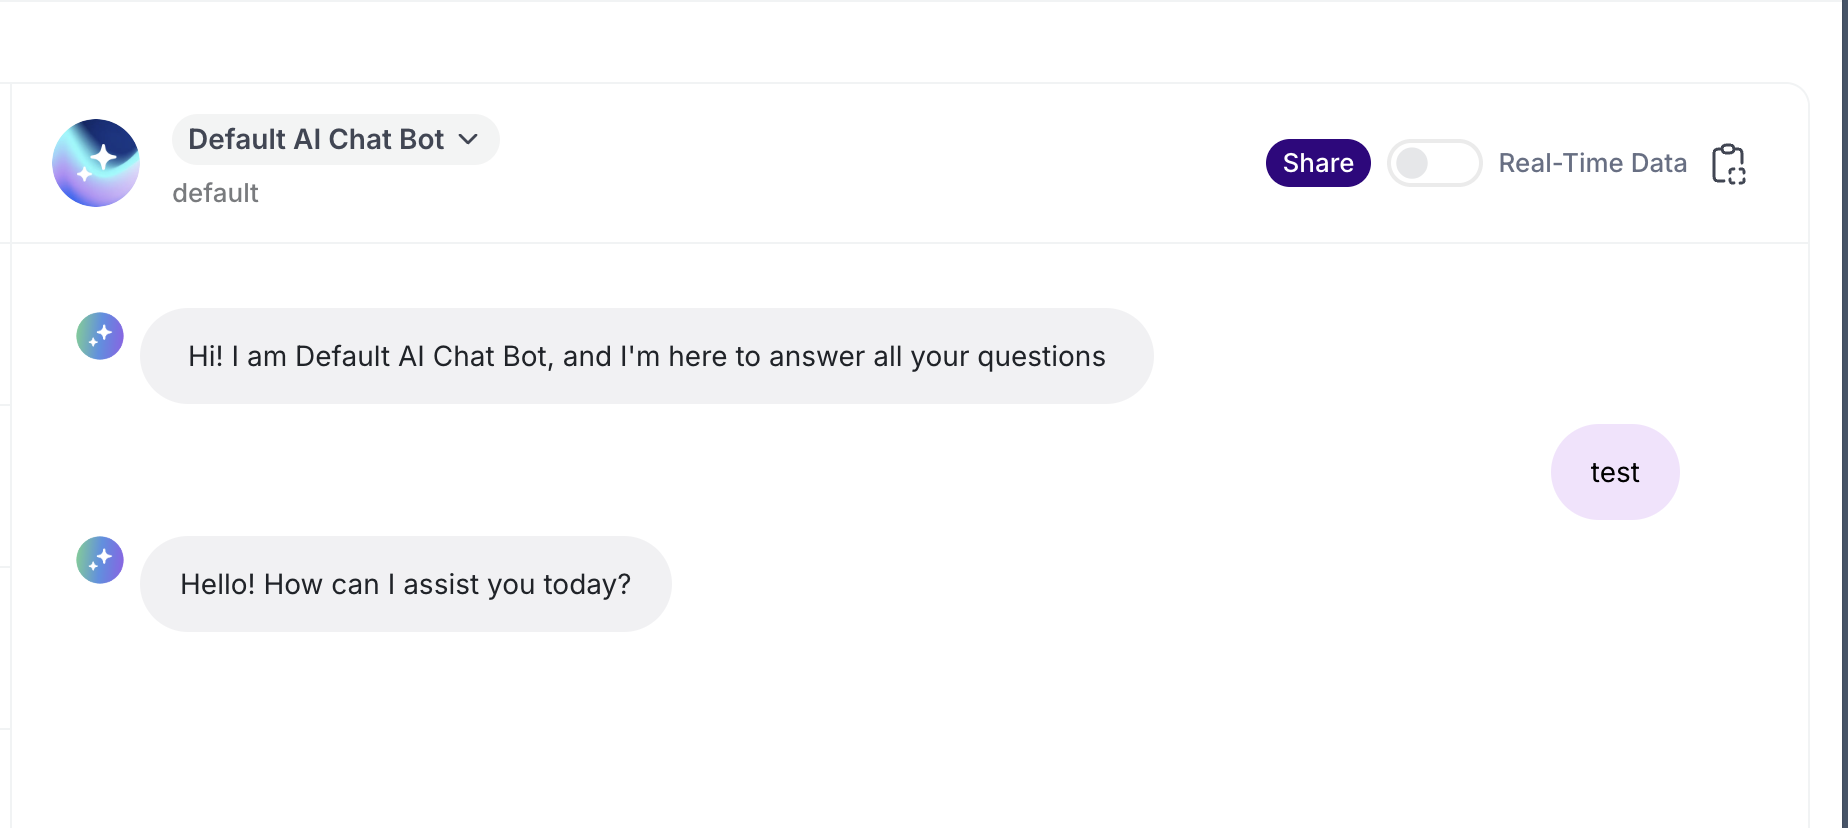
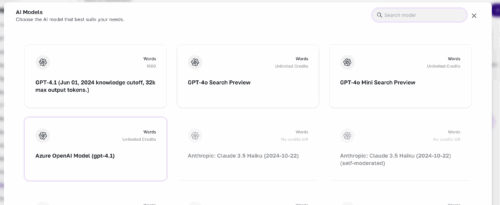
Go to AI Chat, click on “Select Models”, and choose your Azure OpenAI model.
✅ Setup complete!