The External Chatbot extension allows you to create a specially trained Chatbot and embed it on external websites.
How to use External Chatbot?
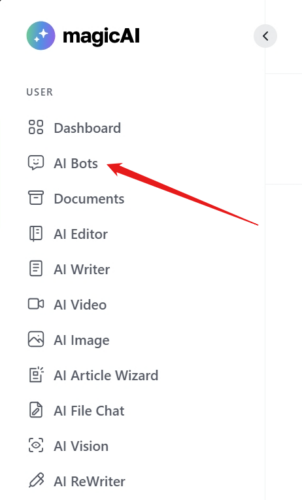
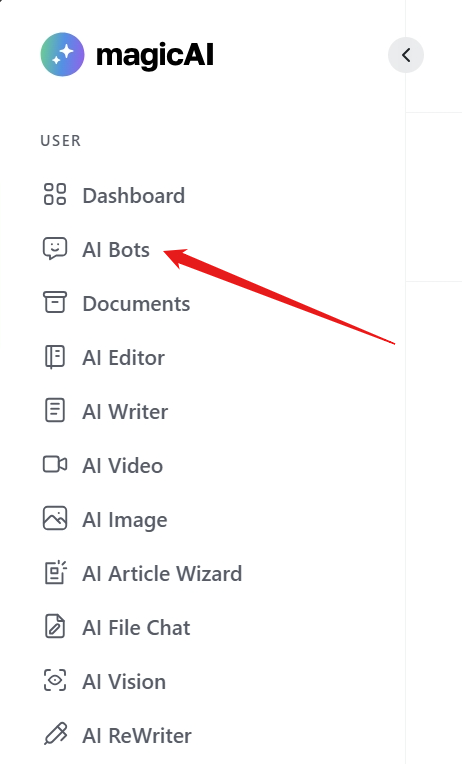
- After installing the extension, you should see AI Bots item on your menu, click on it.
- On the AI Bots page, you can create new chatbots, view chat history and manage your existing chatbots.
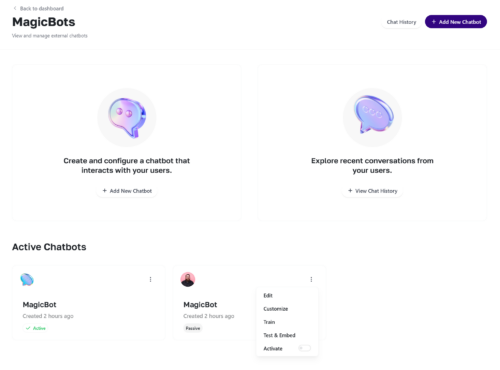
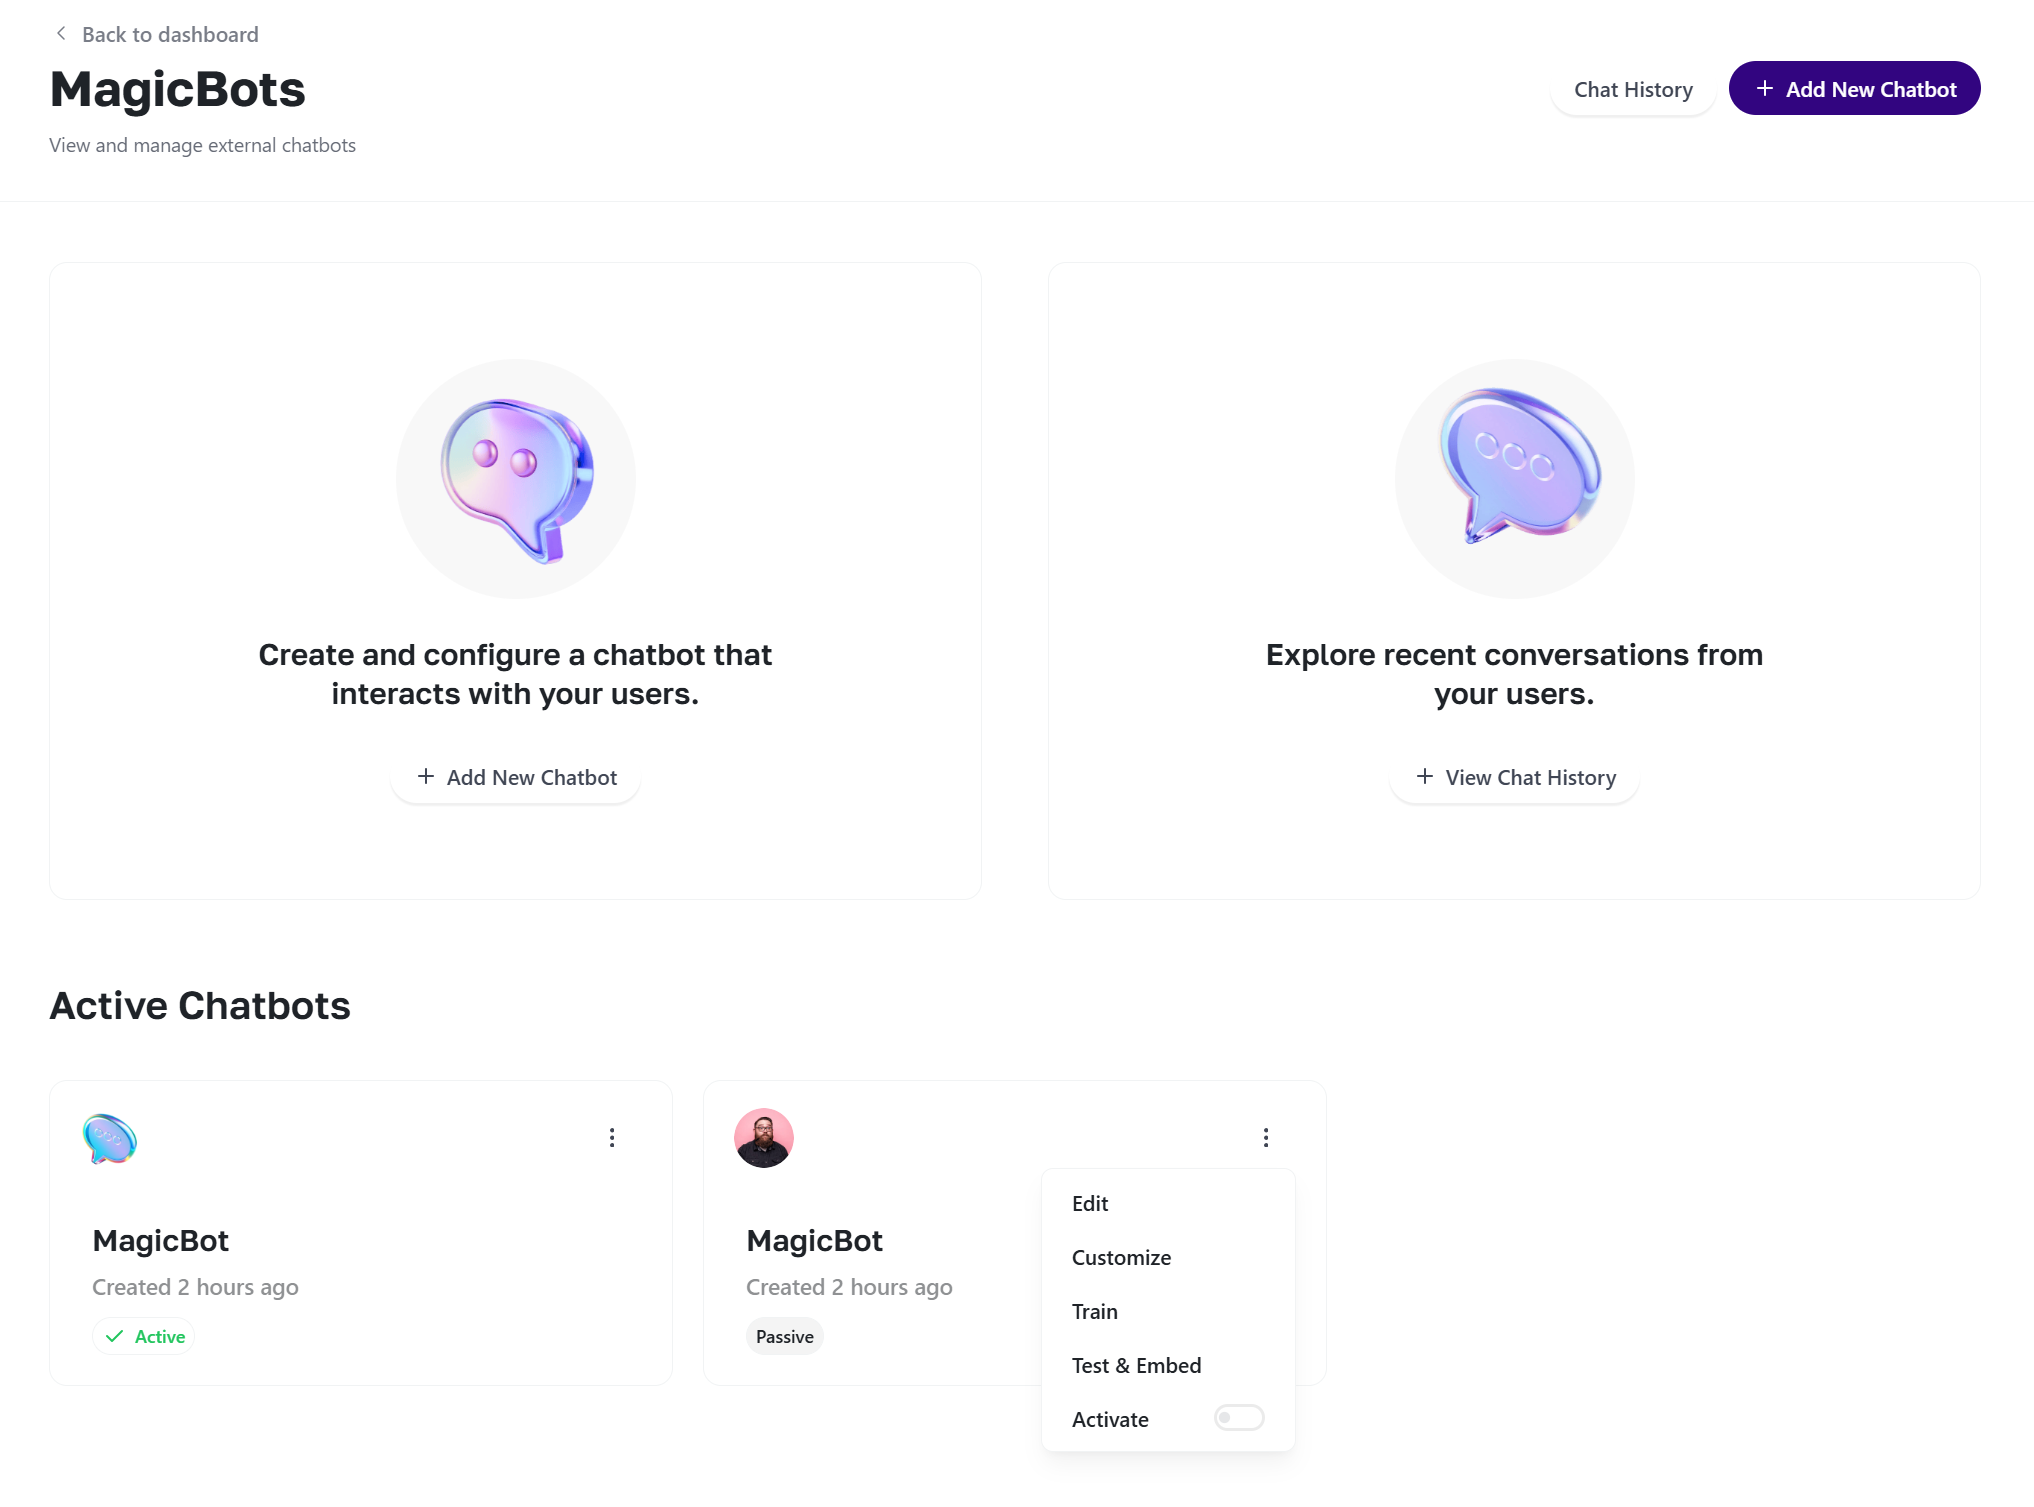
Adding a new chatbot
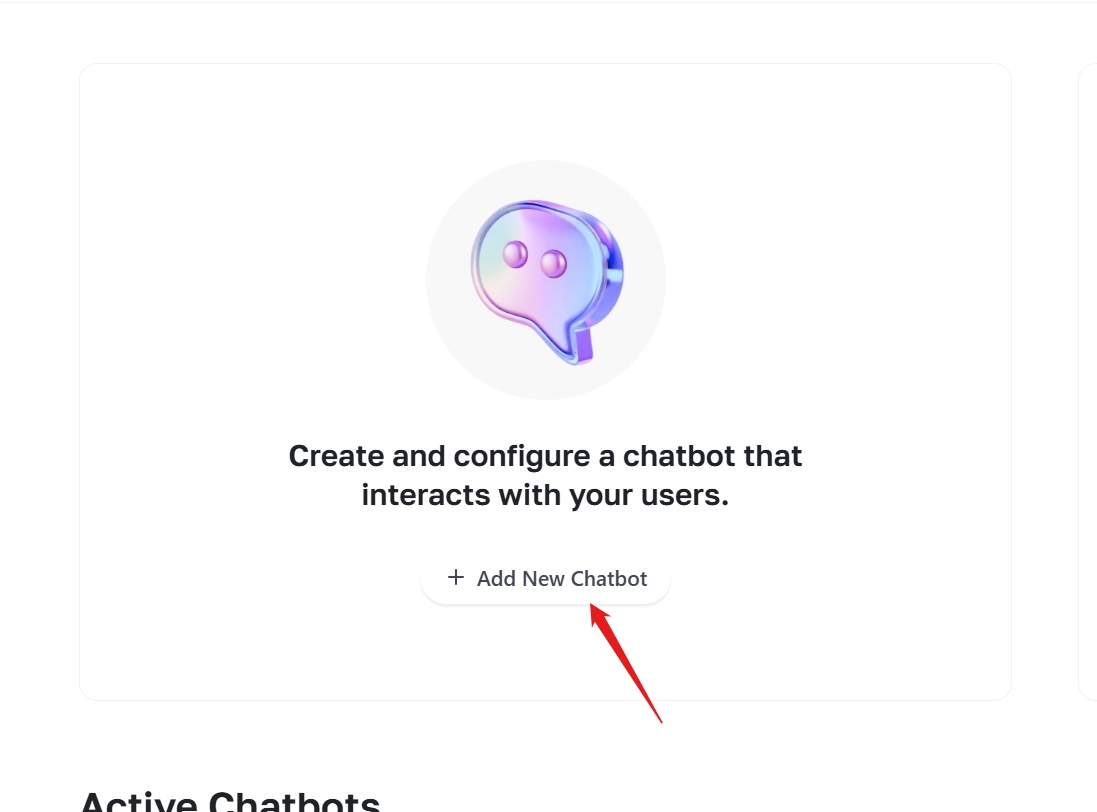
- Click on the Add New Chatbot button.
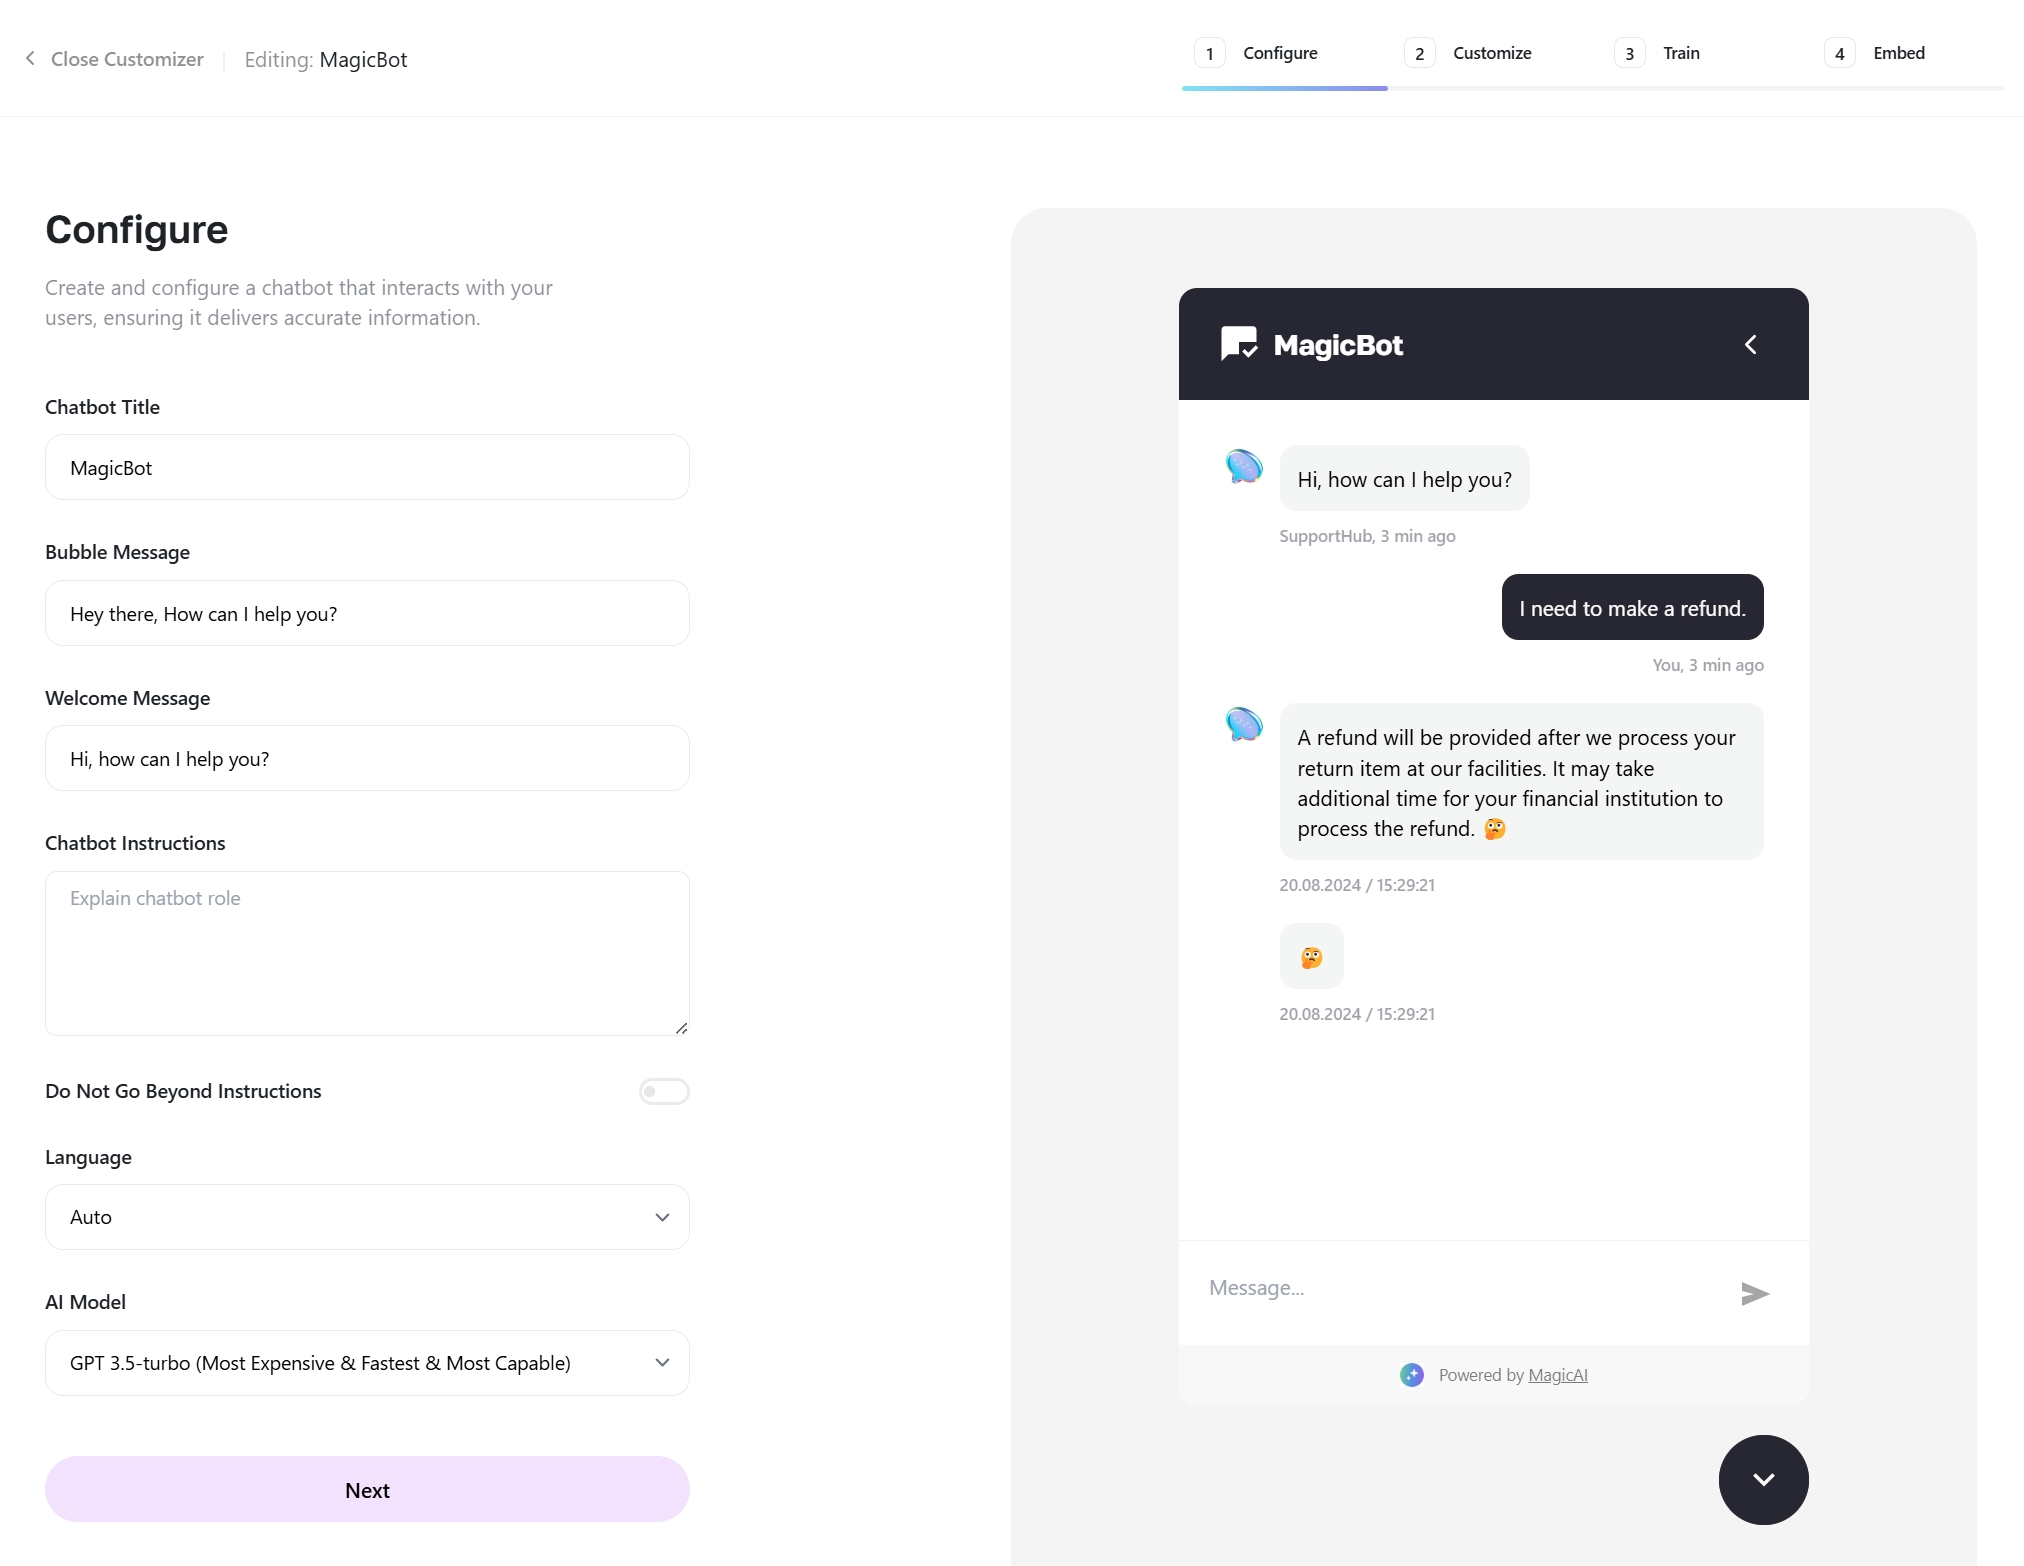
- Configuring Chatbot
- Chatbot Title: Set the name of your chatbot
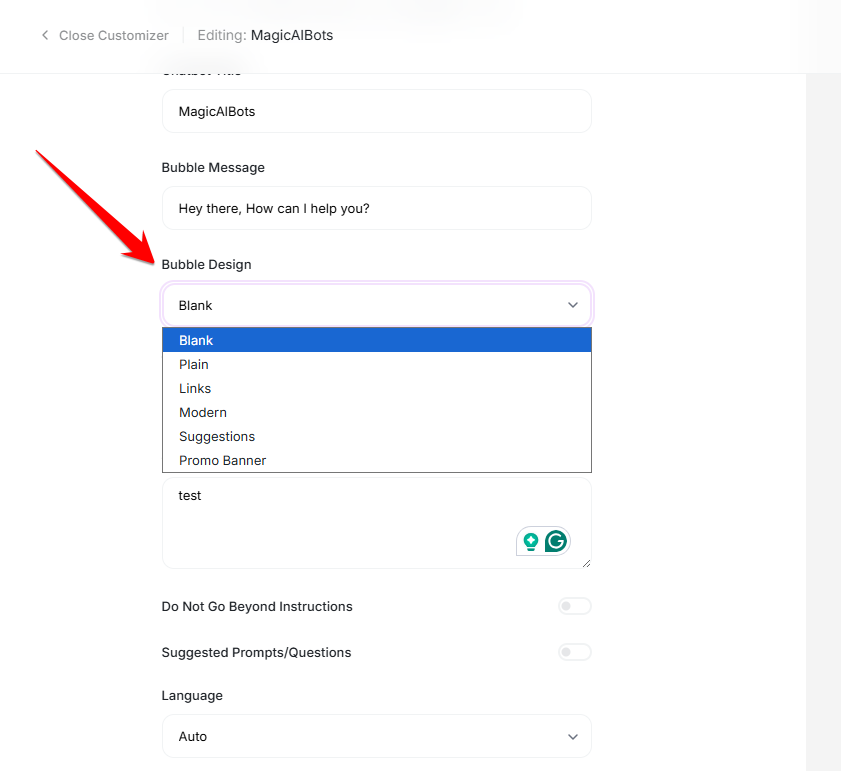
- Bubble Message: Customize the text shown in a bubble when the chat window is minimized.
- Welcome message: The first message your chatbot will send to the user when a new chat window is initiated.
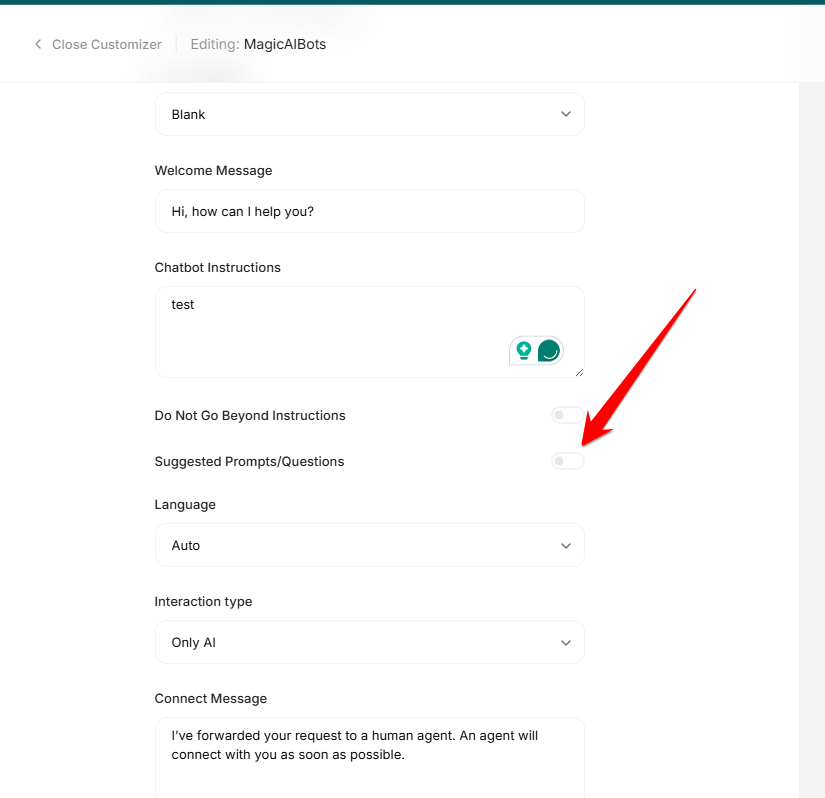
- Chatbot Instructions: Define how the chatbot should behave.
Example: You are an AI support assistant for MagicAI. Act professionally. Add “If there is anything else I can help with, feel free to let me know!” at the end of your answers. - Do Not Go Beyond Instructions: Enable this if you want the AI to strictly follow your instructions.
- Language: Select your chatbot’s language.
- AI Model: Select the AI Model your chatbot will use.
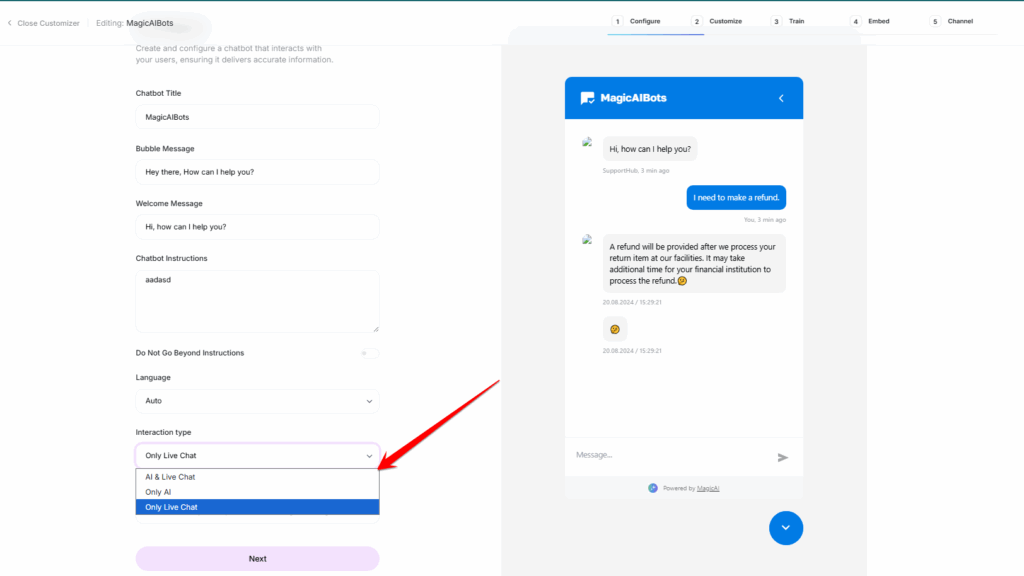
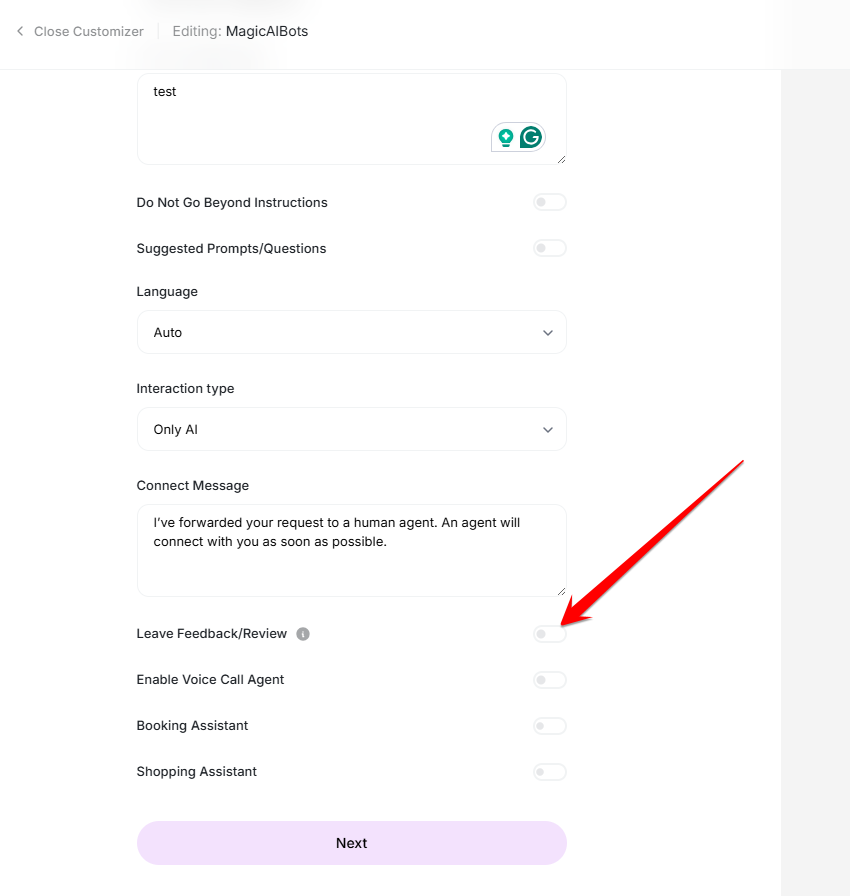
- Interaction Type – Choose whether you want the chatbot to operate only with AI, or with both AI and a Live Chat Agent. Enabling the Live Chat Agent option allows users to interact directly with a human agent. (Note: The Human Agent extension must be enabled to use this feature.)
- Connect Message – This is the message that will be displayed when the AI transfers the conversation to a live agent.
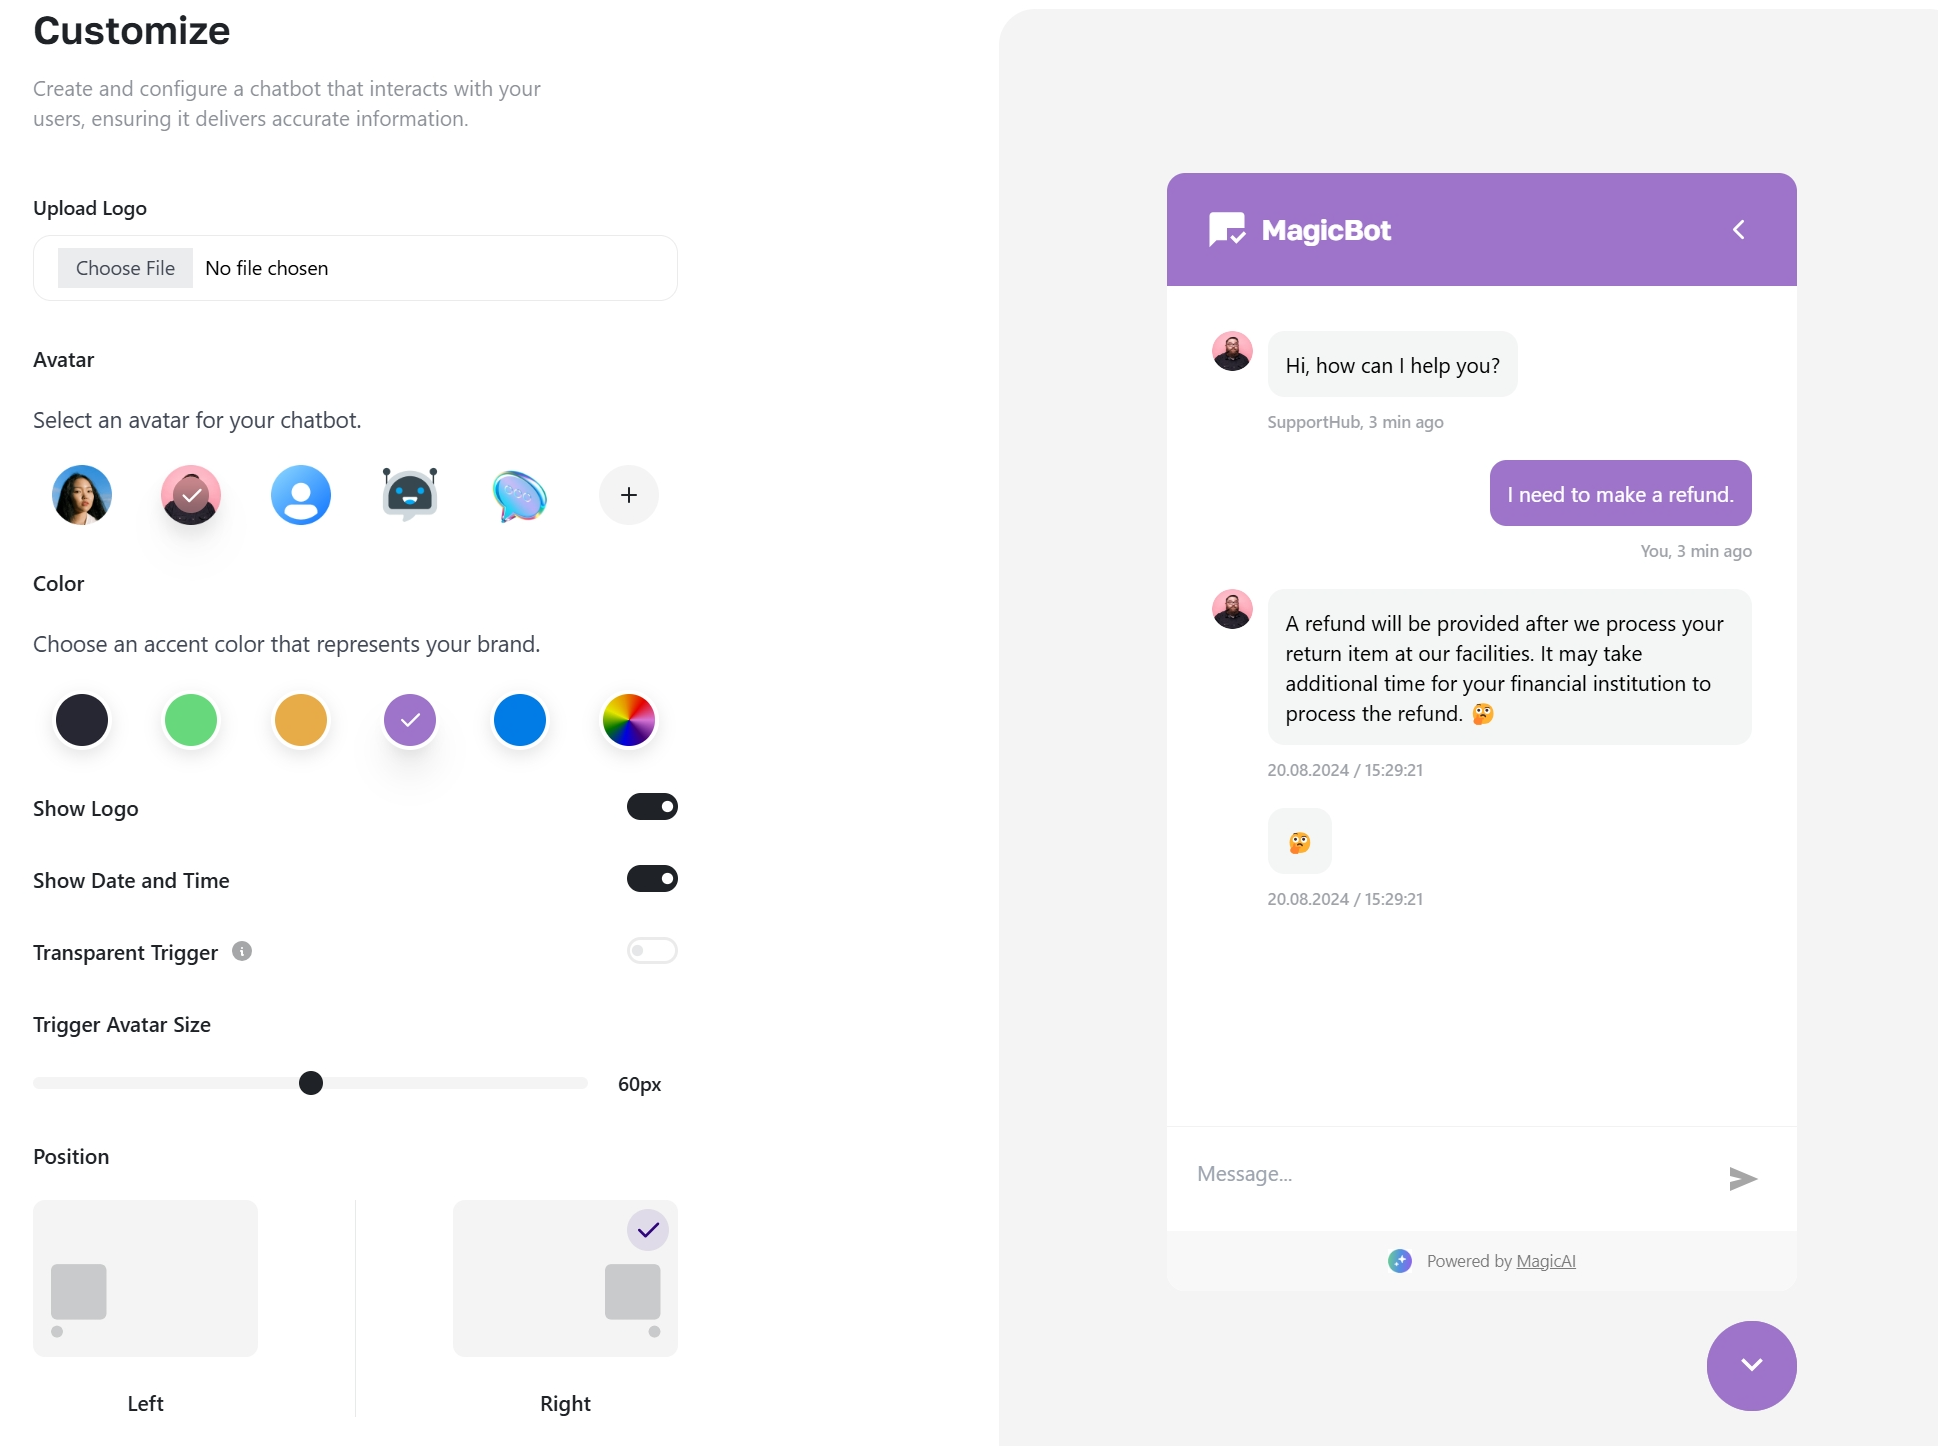
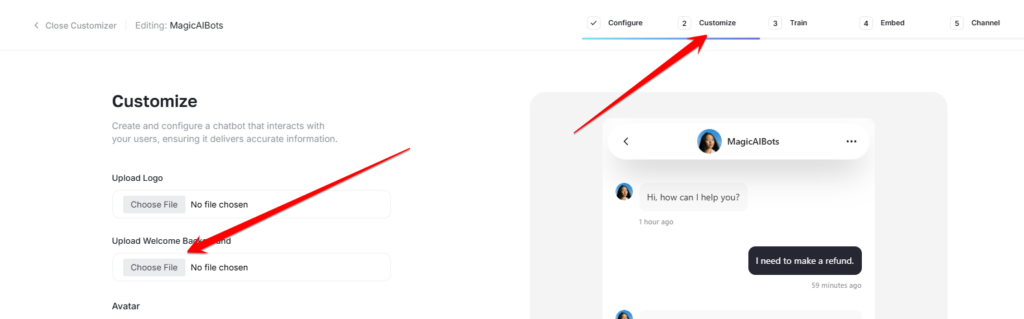
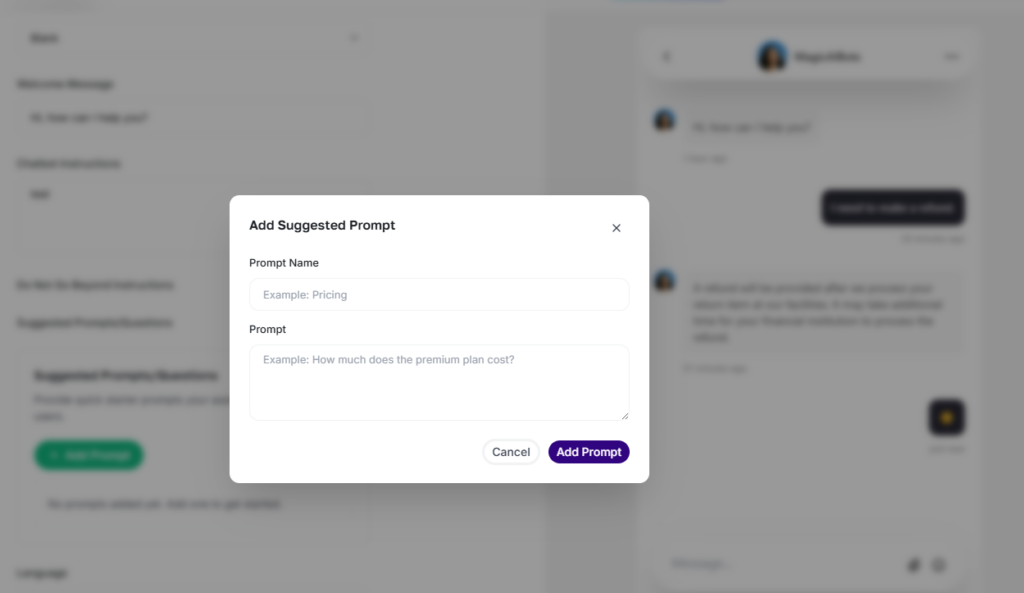
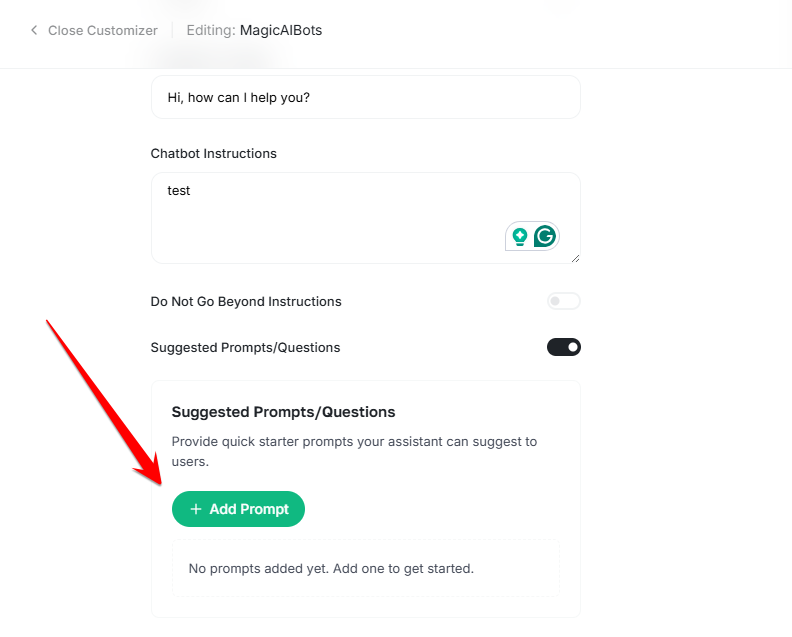
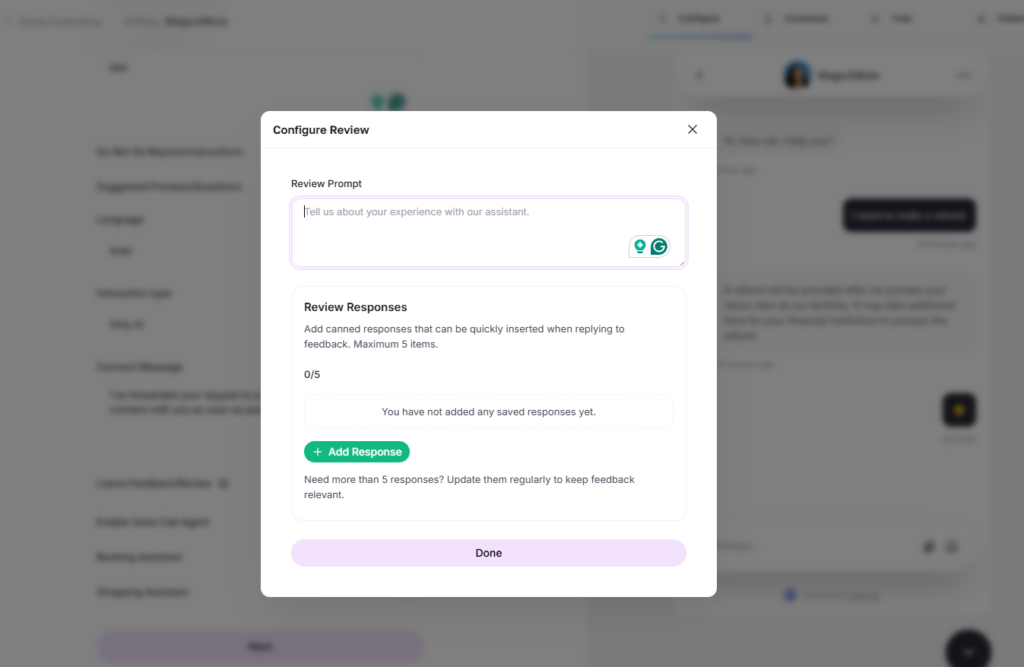
- Customizing Chatbot
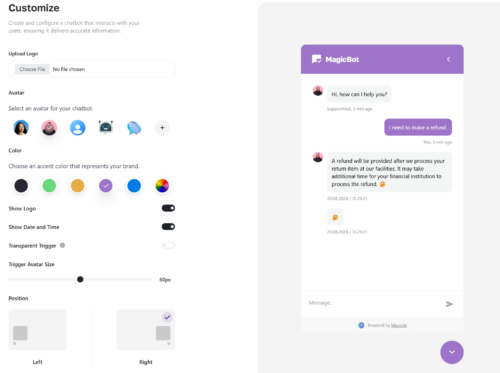
In this step, you can customize your chatbot as you wish. You can see a live preview of your changes on the right side of the page. - Training Chatbot
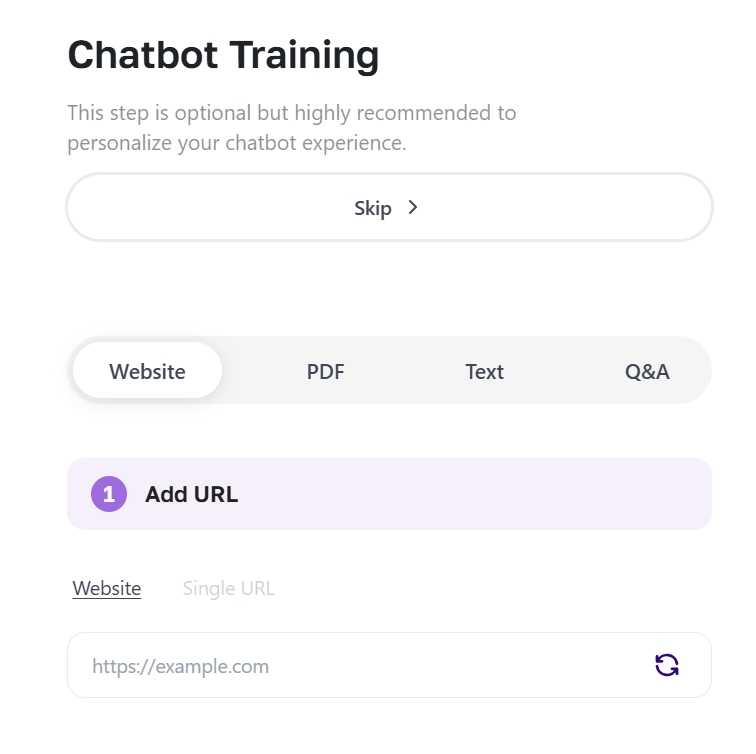
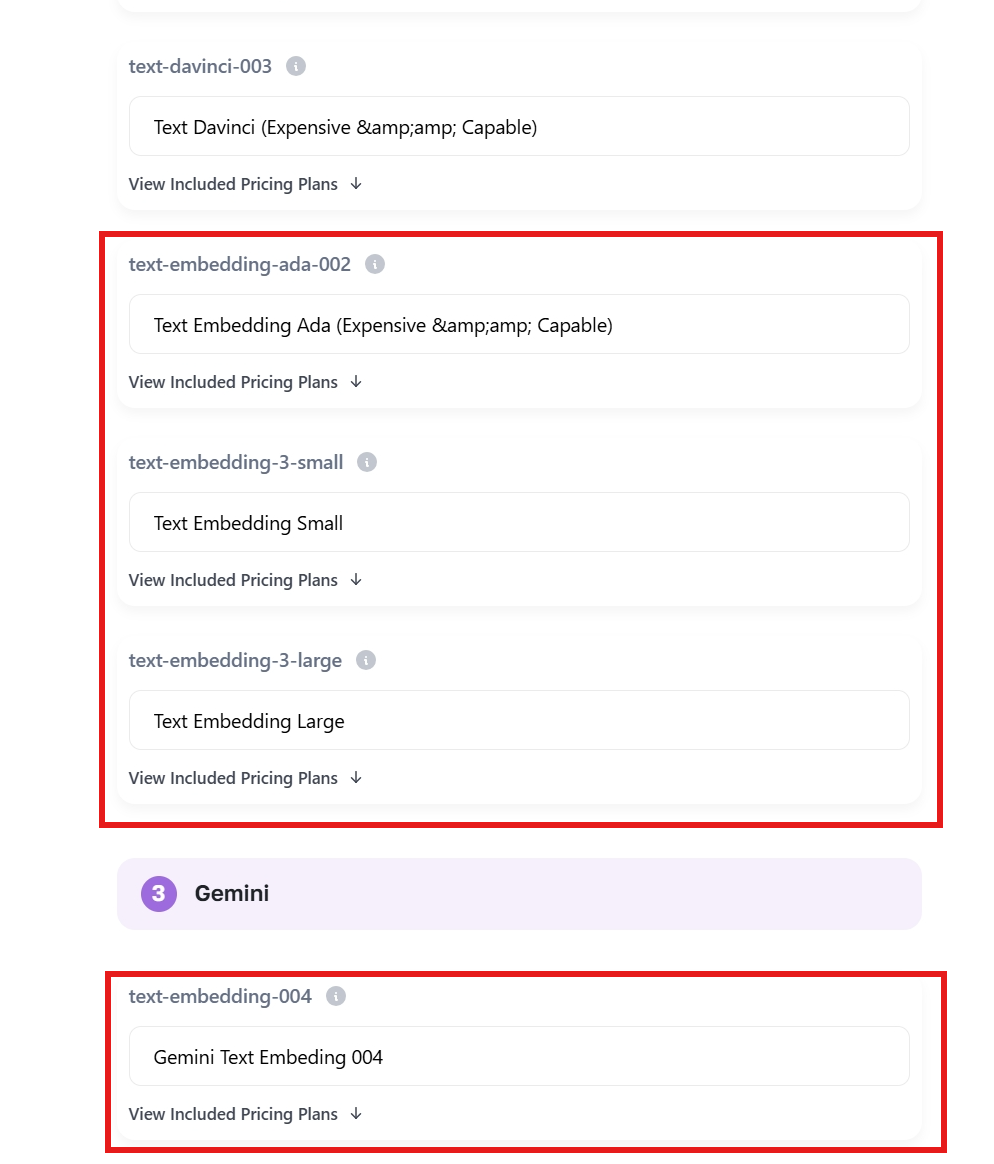
In this step you can train your chatbot. You can use a website, file or text as a source. - Embedding chatbot code on your site
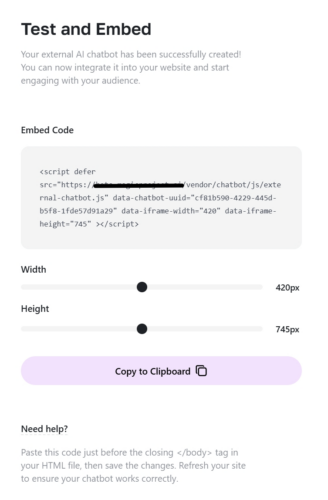
Copy the code from the page and add it before the closing </body> tag of your site. Once done, your chatbot is ready to interact with users.
New Features Added in V2
Email Collection: To collect emails, enable the email collection feature on the Customize Chatbot page. This allows the chatbot to gather user emails seamlessly during conversations.

Emojis in Chat: Customize the chatbot’s communication style to include emojis in the chat flow. This feature can be configured within the chatbot’s settings to enhance user engagement.
File Attachments: To allow users to send file attachments during live conversations, adjust the conversation settings in the chatbot’s configuration. This provides a more interactive support experience.
Add/Edit Knowledge Base Articles: Access the Knowledge Base menu to add or edit articles. These articles can then be enabled and integrated into the chatbot’s conversation flow through the Customize Chatbot page.
Add/Edit Links: Add/Edit Links: You can now add and edit custom links directly within the Customize Chatbot.
New CRM Inbox for External Chatbot: The new CRM Inbox offers a fresh user interface (UI) for managing agent chats. It enhances the chat management experience with the following features:
- Agent Chat Management: View, manage, and respond to live chat conversations directly from the CRM Inbox.
- Real-Time Updates: Get instant updates on ongoing chats and new incoming messages.
- Add/Edit Contacts: You can add and edit contacts directly within the chatbot interface through the Manage Contacts page. This makes it easier to keep track of user information.
- Real-Time Inbox Notifications:
Enable real-time inbox notifications on the notification settings page. This ensures that human agents are instantly alerted when new messages arrive, improving responsiveness and support efficiency.
How to Enable New Features
1- Email Collection: Enable the email collection feature under the Customize Chatbot section.
2- Emojis: Customize the chatbot’s communication style to include emojis in the chat flow.
3- Real-Time Inbox Notifications: Ensure that inbox notifications are enabled for agents through the notification settings page.
4- File Attachments: Allow file attachments by adjusting the settings in the chatbot’s conversation settings.
5- Add/Edit Contacts: You can add and edit user contact information directly from the Manage Contacts page in the chatbot’s settings.
6- Knowledge Base Articles: Access and manage knowledge base articles through the Knowledge Base menu. Enable relevant articles through the Customize Chatbot page.
7- Add/Edit Links: To manage links, navigate to the Customize Chatbot page and add/edit any links as needed.