Welcome to Fashion Studio
Fashion Studio is your all-in-one AI creative suite designed to transform how you visualize, market, and style apparel. Whether you are an e-commerce brand, a digital stylist, or a content creator, Fashion Studio provides the professional tools needed to bring high-end fashion concepts to life in seconds.
Fashion Studio uses the existing credit system. All image-related actions, including model and background generation, photoshoots, and edits, consume credits from the image credits pool. Video creation and generation consume credits from the video credits pool. You can also enable/disable the feature access based on the selected pricing plan. It uses NanoBanana Pro for the image generation.
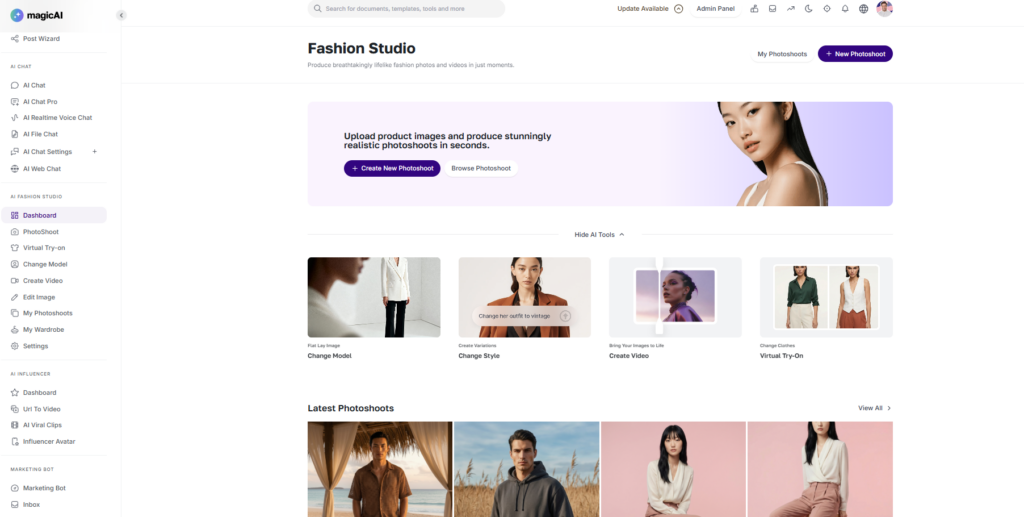
The Fashion Studio Dashboard
The Fashion Studio Dashboard is your creative headquarters. Designed for speed and precision, it gives you immediate access to our core generative tools. From here, you can define your brand’s aesthetic, animate your designs, and see your collections in action.
Key Dashboard Components
Model Selection: Choose from a diverse library of AI models. You can filter by ethnicity, age, and body type to ensure your brand representation is inclusive and accurate.
Style Customization: Take full control over your model’s look. With the Style Editor, you can modify hair, makeup, and lighting environments to match your specific campaign mood.
Video Generation: Breathe life into static images. Use the Video Gen tool to create cinematic catwalks or 360-degree product showcases, perfect for social media and high-impact ads.
Virtual Try-On (VTO): The heart of the studio. Simply drag a garment from your wardrobe onto your selected model to see an instant, high-fidelity preview of the fit and fabric drape.
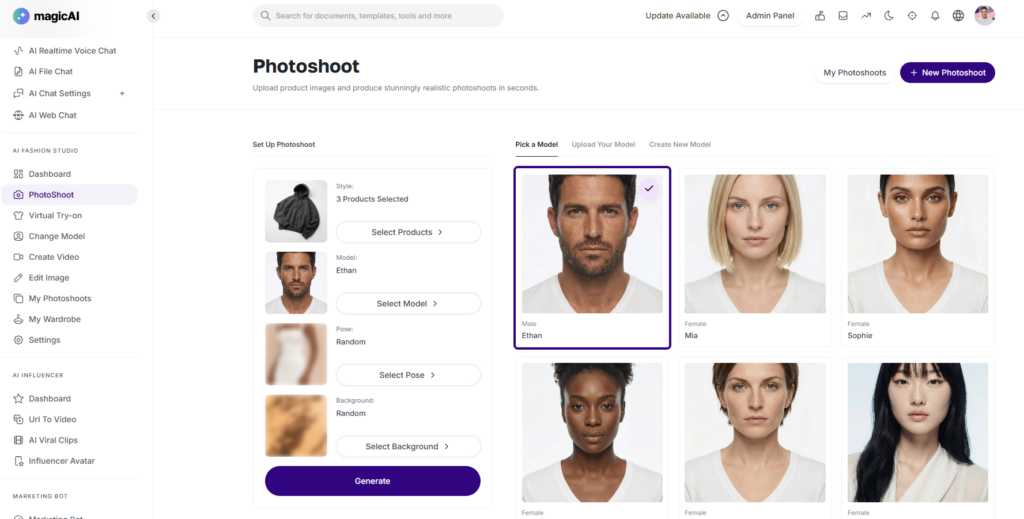
AI Photoshoot
The AI Photoshoot module allows you to create high-end editorial imagery without the logistical headache of a physical set. You can combine existing assets, your own custom products, and AI-generated designs into a single, cohesive scene.
1. Product Selection
You can feature up to three products in a single photoshoot. You have three ways to populate your scene:
Library Products: Select from a curated catalog of items already available in the system.
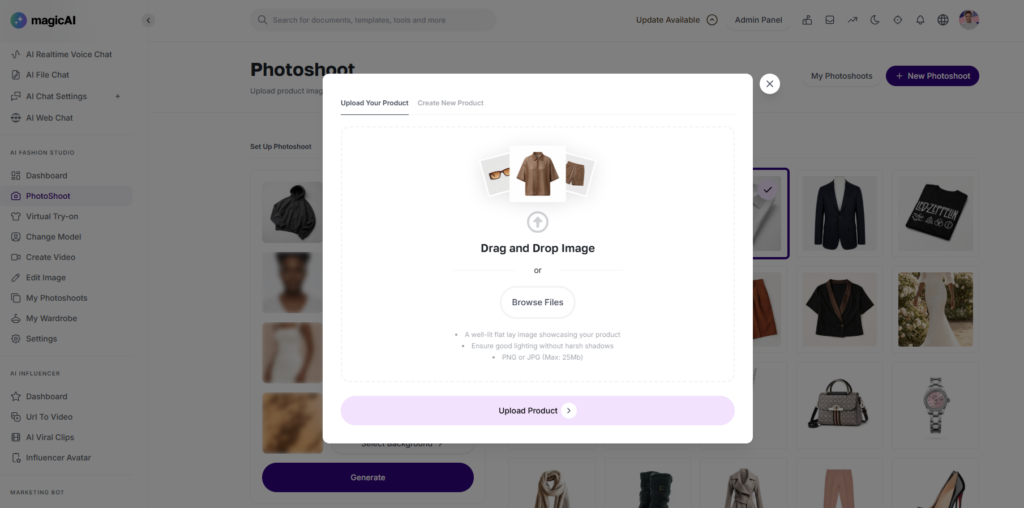
Upload Your Own: Import your own product photos or “Flat Lays” to see them modeled in 3D.
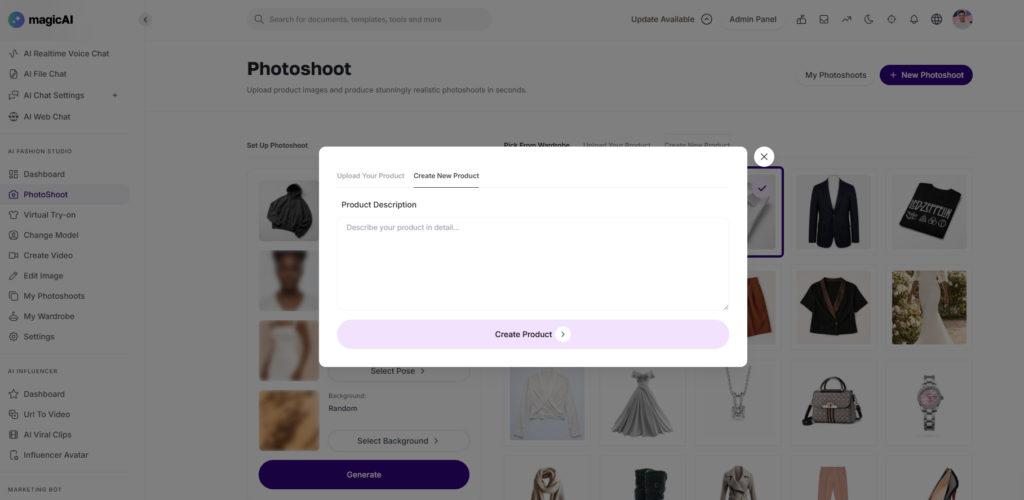
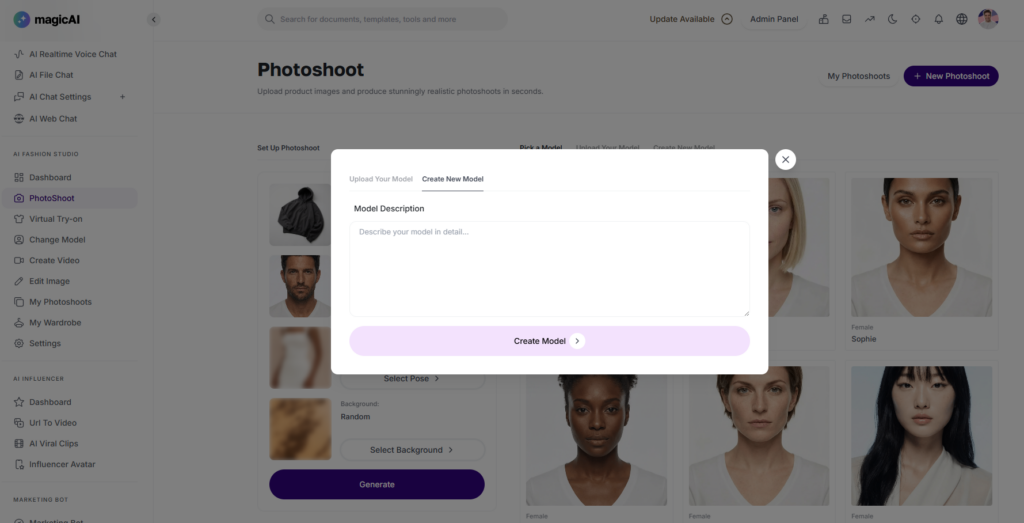
Prompt-to-Product: Don’t have a physical item yet? Describe a garment (e.g., “A silk emerald green midi dress with puff sleeves”) and the AI will generate it for the shoot.
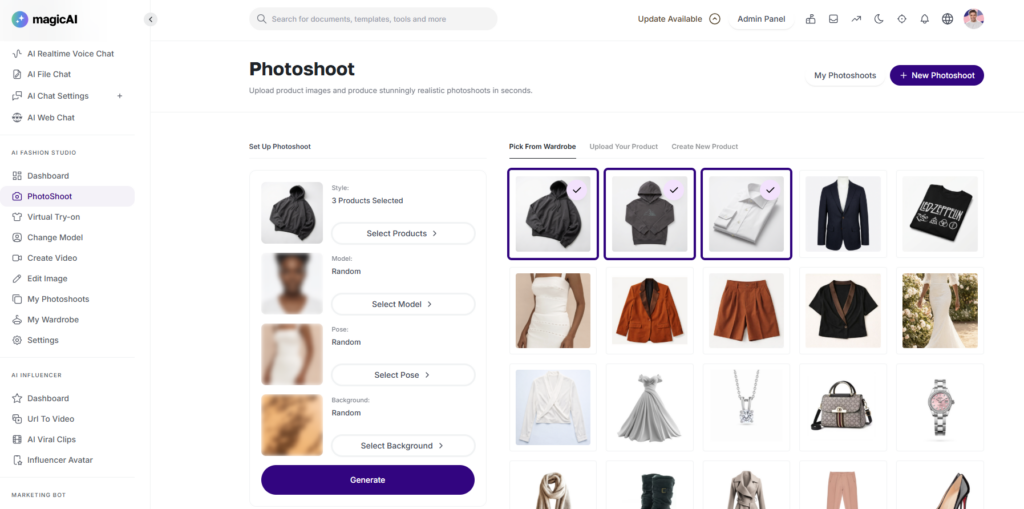
2. Model & Style
Once your products are set, choose who will wear them:
Select a Model: Choose a specific model from our diverse library to maintain brand consistency.
Randomized Selection: If you don’t select a model, the system will intelligently choose a Random Model that best fits the garment style.
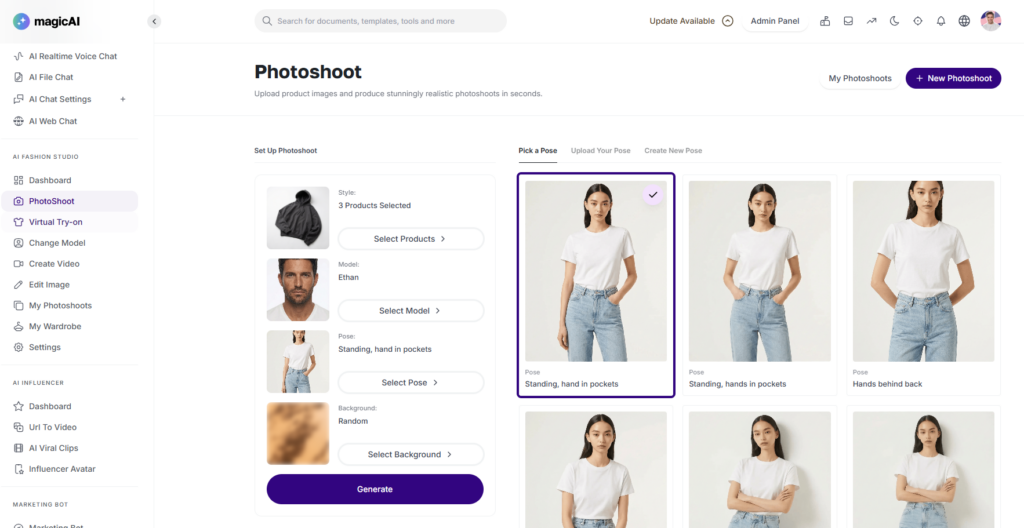
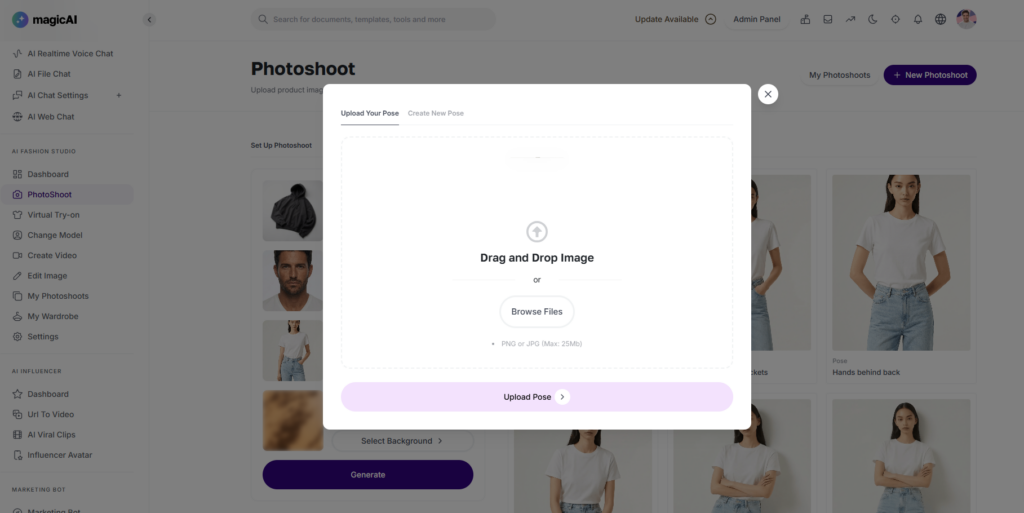
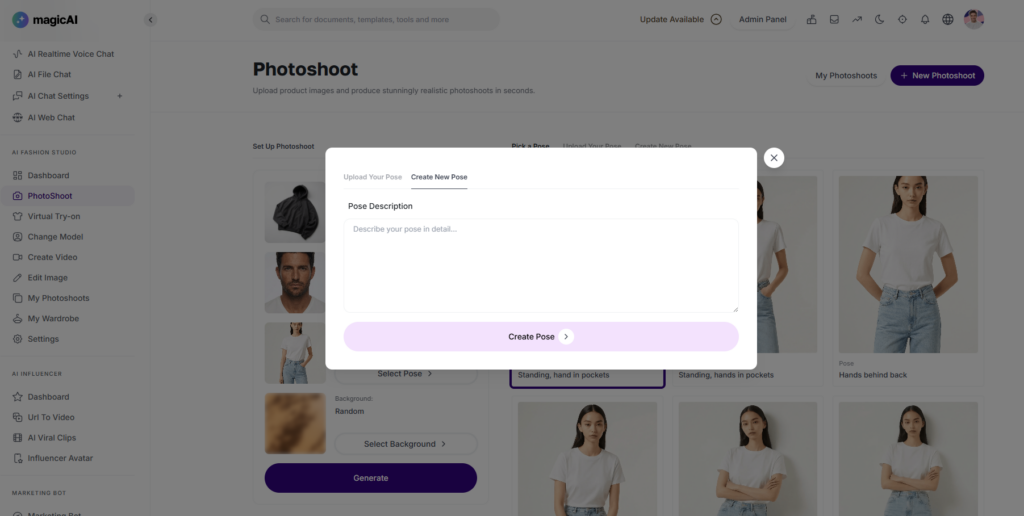
3. Posing & Composition
Manual Pose: Select from a variety of poses—from “High Fashion Editorial” to “Casual Walking”—to highlight specific product details.
Dynamic Posing: If no pose is selected, the system defaults to a Random Pose to give you a fresh perspective every time.
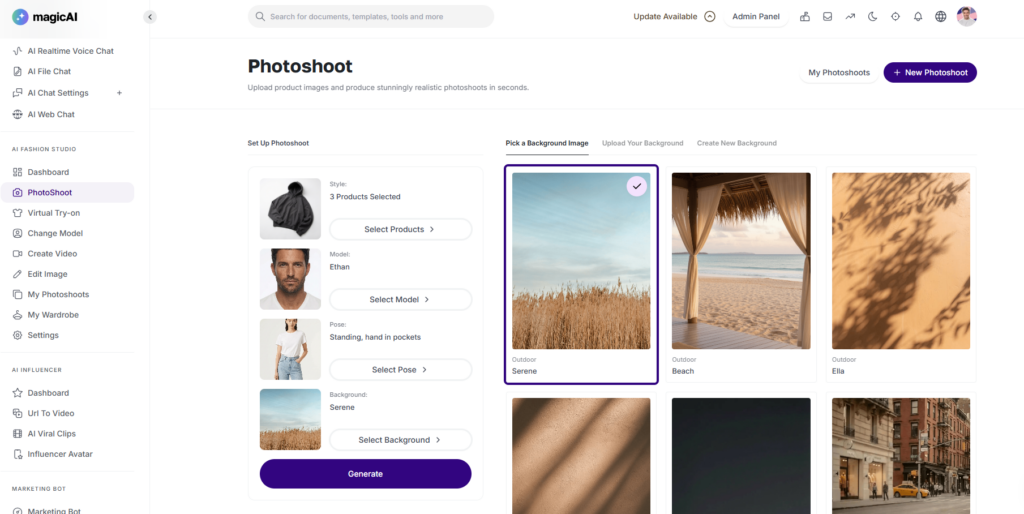
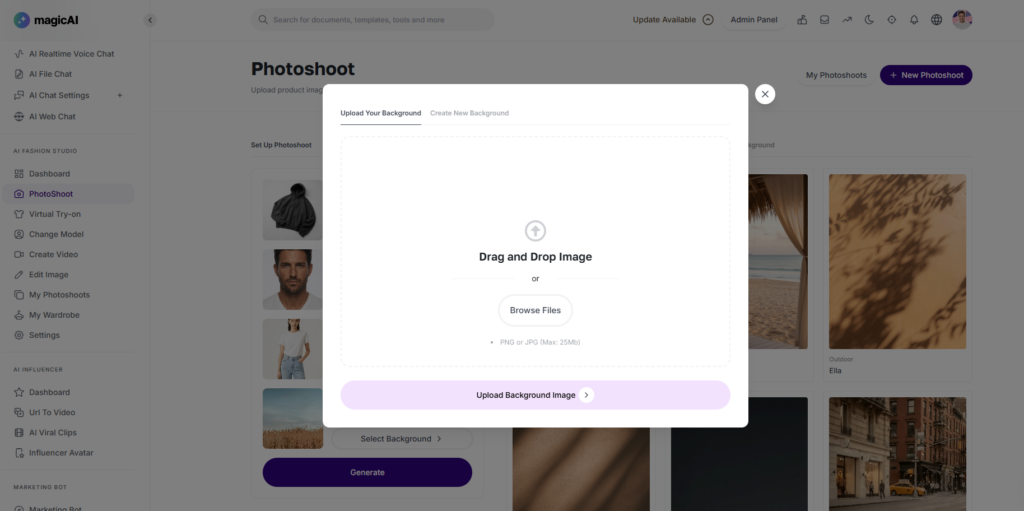
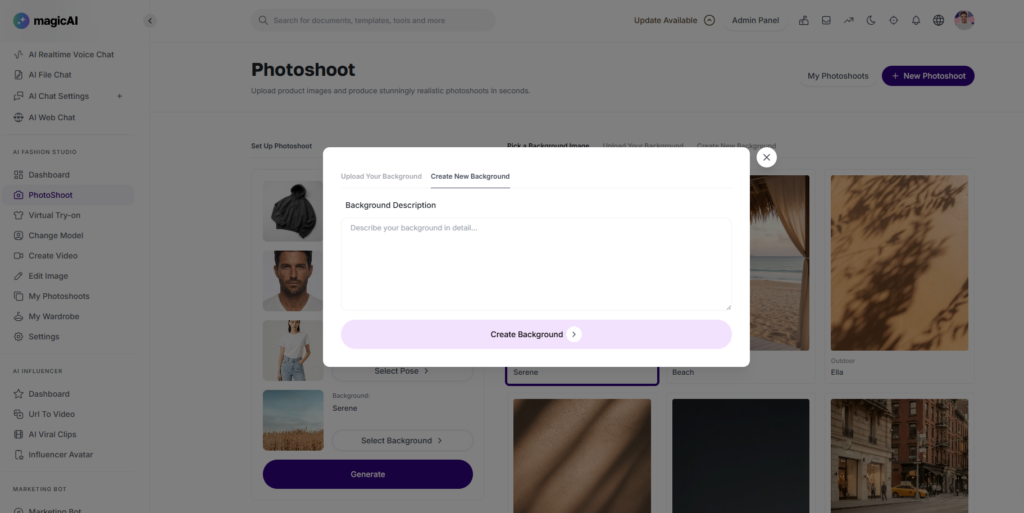
4. Background & Environment
Custom Backgrounds: Choose from our environment presets, such as “Milan Streetwear,” “Luxury Minimalist Studio,” or “Tropical Beach.”
AI Environments: Leave the background blank to let the system generate a Random Background that complements the lighting and colors of your chosen products.
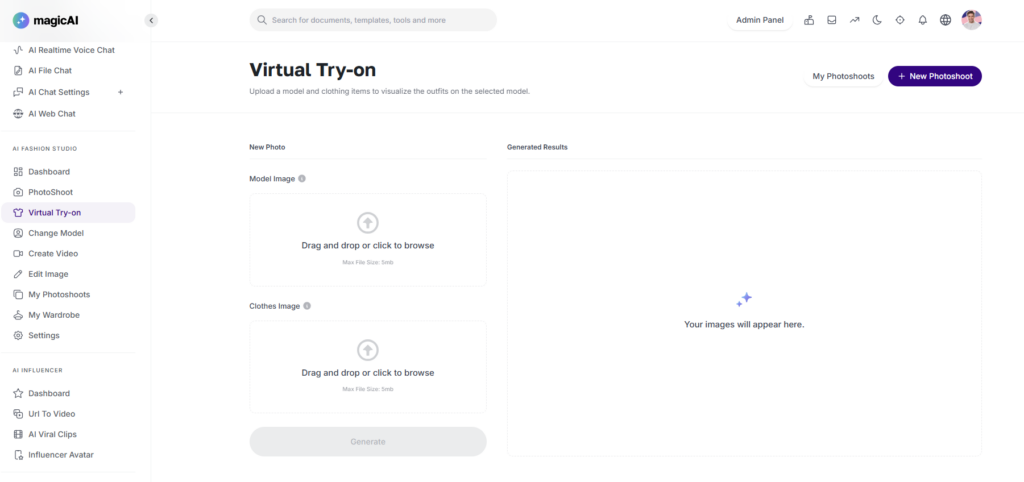
Virtual Try-On (VTO)
The Virtual Try-On feature is a powerful visualization tool that allows you to see how any garment looks on a real human figure. By pairing a model image with a clothing image, our AI precisely drapes the fabric, accounting for fit, shadows, and body contours.
How it Works
The process is a simple three-step “Pair and Generate” workflow:
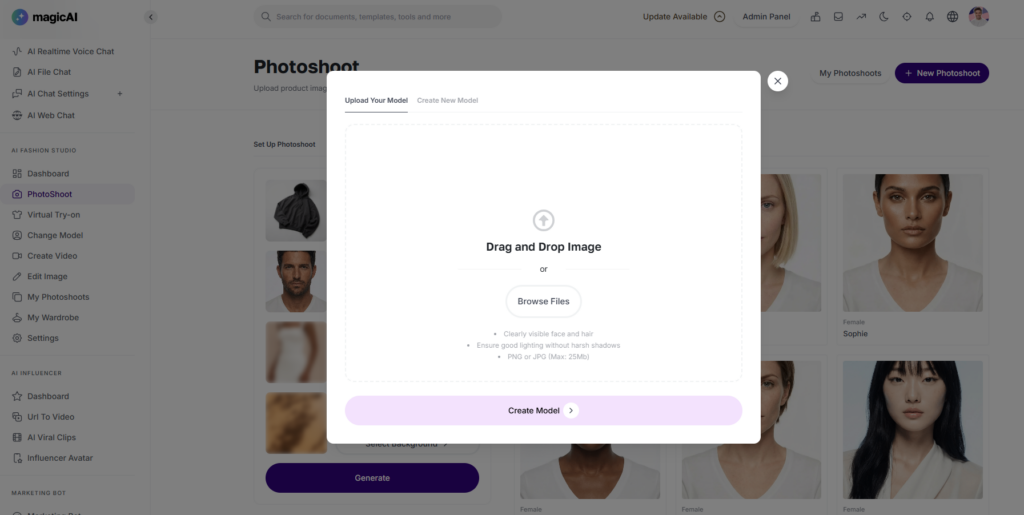
Upload Your Model: Upload a high-resolution photo of a person. For the most accurate results, use a “ghost mannequin” or a model standing in a neutral pose against a plain background.
Upload the Clothing: Upload a clear image of the garment you wish to “try on.” This can be a flat-lay photo, a product packshot, or even a cropped image of a specific texture or pattern.
Generate: Click the Generate button. The AI will analyze the proportions of the model and the dimensions of the clothing to produce a realistic composite image.
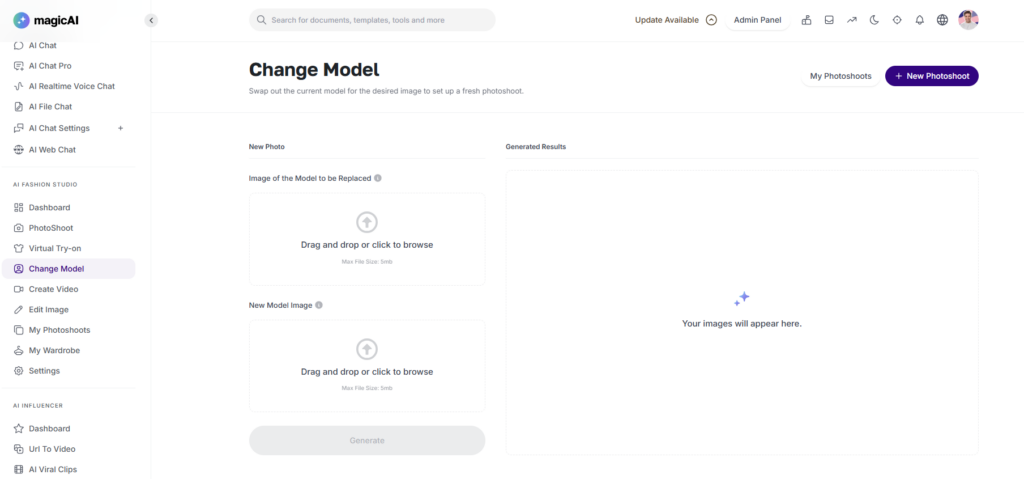
Change Model
The Change Model tool allows you to swap the person in an existing fashion photograph while keeping the original clothing and setting intact. This is the perfect solution for updating brand aesthetics, diversifying your catalog, or reusing high-quality campaign shots with new faces.
The Replacement Process
To perform a model swap, you will need two primary images:
The Source Image (Original): Upload the existing photo containing the model you wish to replace. The AI will automatically detect the garments being worn to ensure they are preserved during the transition.
The Target Image (New Model): Upload an image of the new model you want to appear in the shot. Our AI will analyze their features, skin tone, and body structure to integrate them seamlessly into the original scene.
How to Execute a Swap
Upload Original: Drop your current campaign or product photo into the Source slot.
Upload New Reference: Drop the image of the desired model into the Replacement slot.
Process: Click Change Model. The system will “transfer” the clothing from the original photo onto the new model, maintaining the original lighting, background, and garment details.
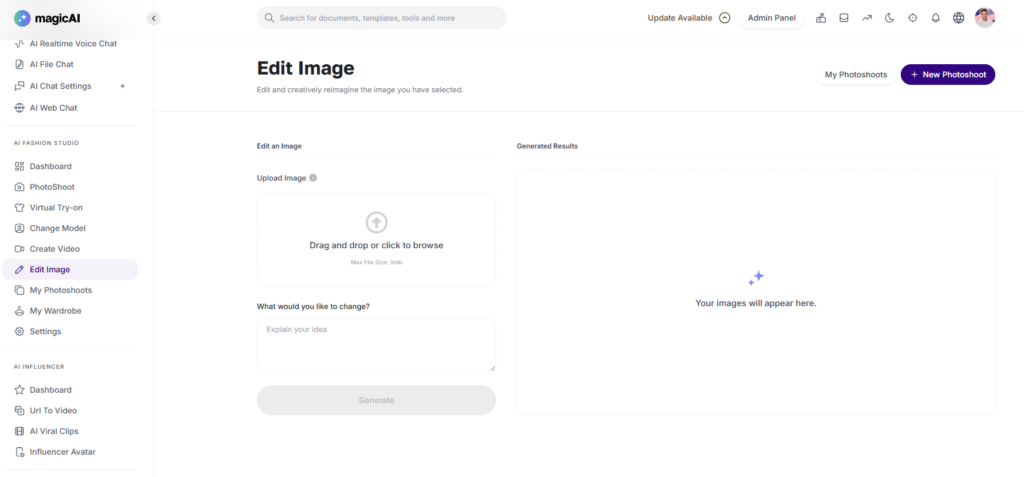
Edit Image
The Edit Image feature gives you the power to modify existing visuals using simple natural language. Instead of starting from scratch, you can take a generated or uploaded photo and “instruct” the AI to change specific elements, textures, or environments.
How to Edit
Upload Image: Start by uploading the photo you wish to modify. This can be a photoshoot result, a product shot, or a personal image.
Describe Changes: In the Prompt Box, type exactly what you want to change.
Generate: The AI will analyze your request and apply the edits while maintaining the original composition and lighting.
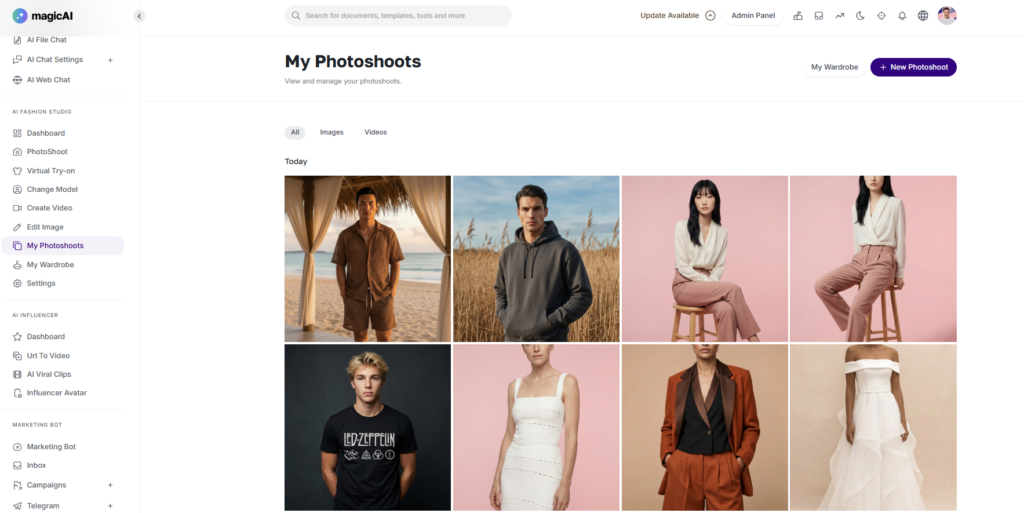
My Photoshoots
My Photoshoots is your personal cloud-hosted gallery where every creation comes to life. This section automatically archives every image and video you generate within the Fashion Studio, ensuring that your creative history is always organized and accessible.
What’s Inside?
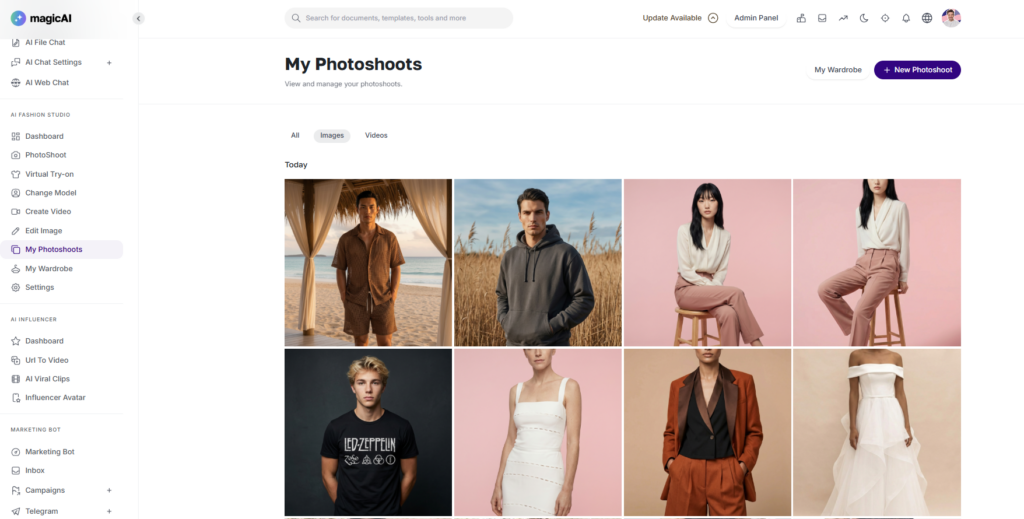
Unified Library: No need to search through different folders. All your AI Photoshoots, Virtual Try-On results, and Edited Images are stored in one place.
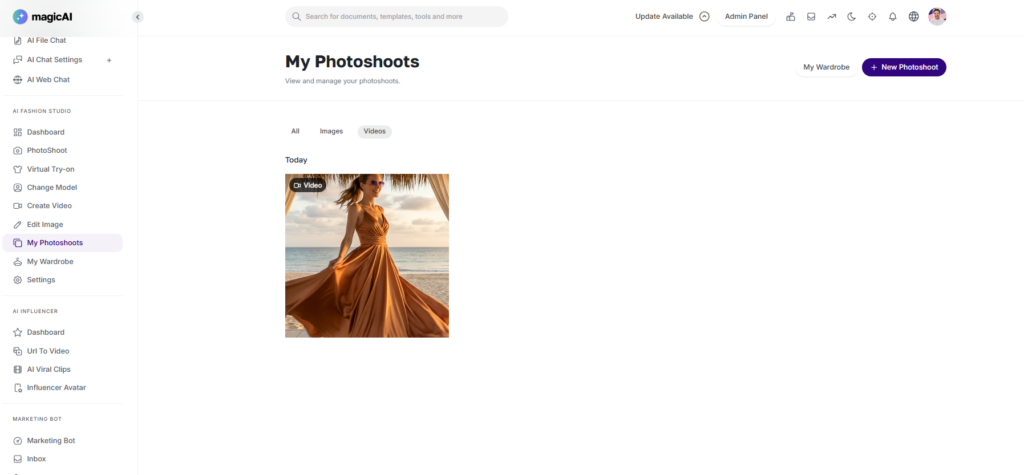
Video Archive: Access all your AI-generated catwalks, 360-degree views, and cinematic clips. You can preview them directly within the dashboard.
High-Resolution Downloads: Every asset in your library is available for high-quality export, ready for use on social media, e-commerce websites, or marketing presentations.
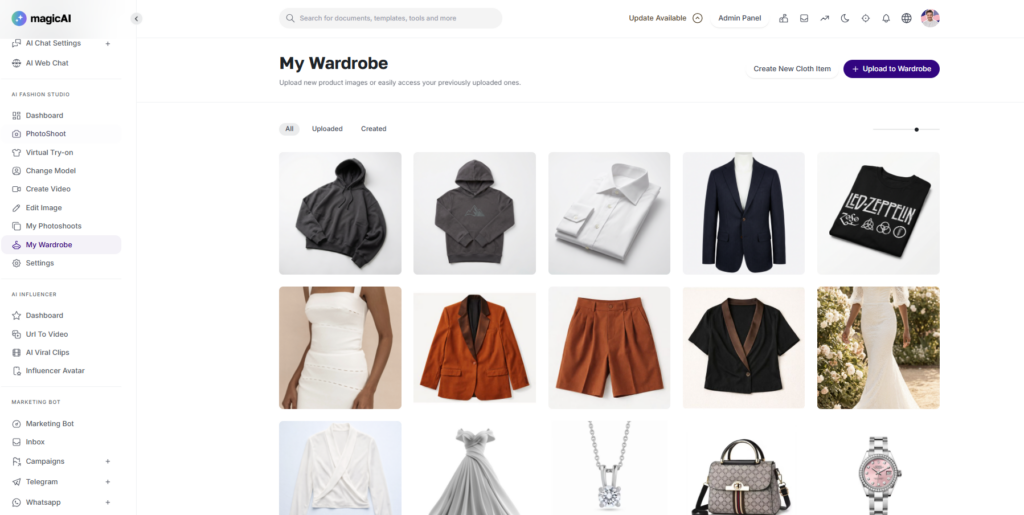
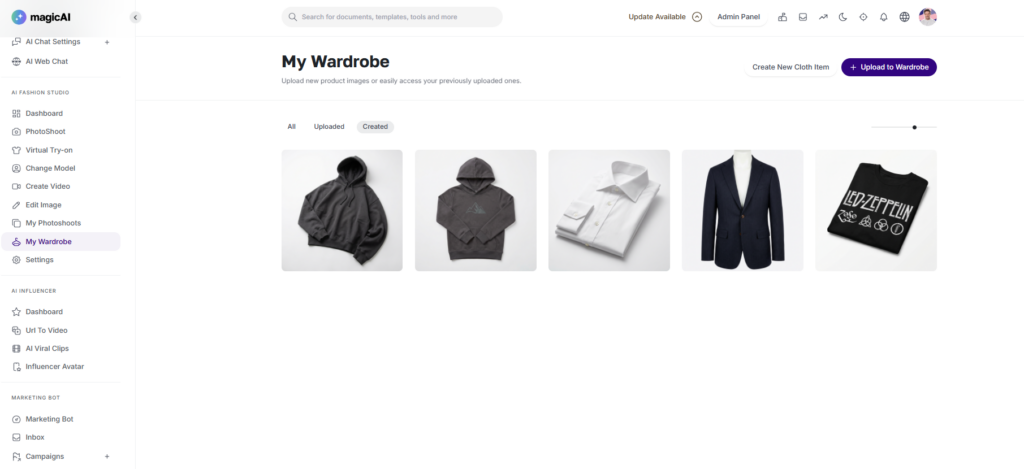
My Wardrobe
The Wardrobe is your centralized asset management system. It acts as a bridge between your real-world inventory and your digital creations, allowing you to organize, preview, and reuse products across all Fashion Studio features.
A Three-Tiered Asset Library
The Wardrobe is organized into three distinct categories to streamline your workflow:
Predefined Products: Access a curated library of high-quality, ready-to-use fashion items provided by the platform. These are perfect for quick prototyping or testing new “looks” and backgrounds.
Uploaded Images: This is your personal inventory. Here, you will find all the product photos, “Flat Lays,” and reference images you have uploaded. These assets are processed and stored so they can be instantly “worn” by AI models.
Created Images: This section automatically saves your final AI-generated outputs. Whether it’s a successful Virtual Try-On or a high-end Editorial Photoshoot, your best results are stored here for easy access and re-downloading.

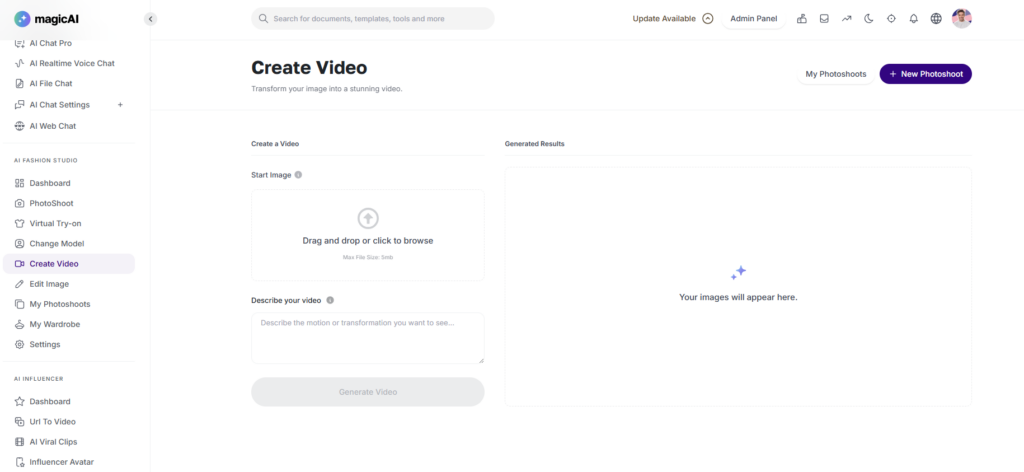
AI Video Generation
The Video Generation tool allows you to breathe life into your fashion photography. By combining a static image with a descriptive prompt, you can transform a still portrait into a cinematic video, such as a model walking down a runway or fabric swaying in the wind.
How to Generate a Video
Upload Your Base Image: Choose a high-quality photo from your device or select a previously generated image from My Photoshoots. This image serves as the starting frame and “visual anchor” for your video.
Enter Motion Prompt: In the Video Prompt field, describe the movement or action you want to see.
Example: “Model walking towards the camera on a windy city street, hair blowing naturally.”
Example: “A 360-degree slow-motion pan around the model to showcase the dress texture.”
Generate: Click the Generate Video button. Our AI will analyze the garment’s physics and the background to create a seamless, high-definition video clip.
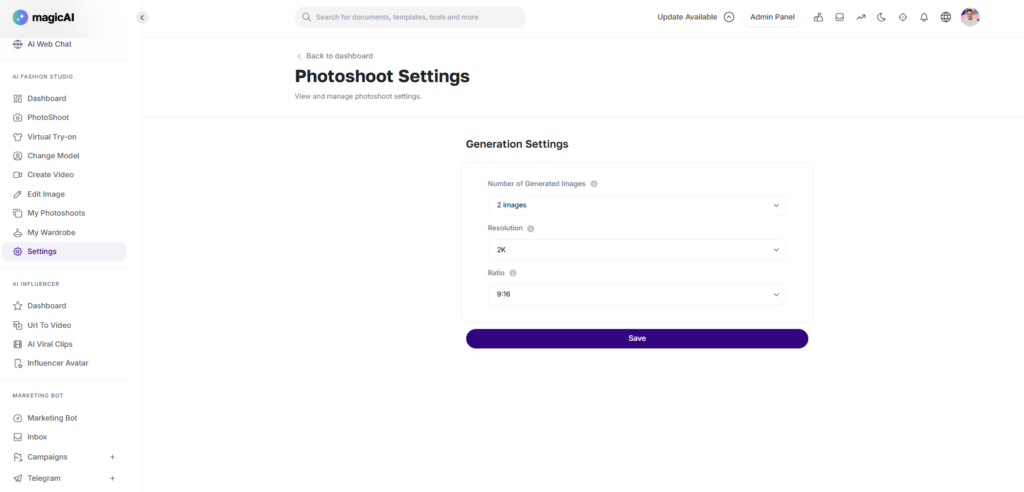
Photoshoot Settings
The Photoshoot Settings panel gives you granular control over the technical output of your AI generations. Before you hit “Generate,” you can use these settings to ensure your images meet the specific requirements of your marketing channels.
Customizable Parameters
Number of Images: Choose how many variations you want to generate in a single batch (e.g., 1, 2, or 4 images). Generating multiple variations allows you to compare different lighting and pose nuances to find the perfect shot.
Resolution: Select the level of detail for your final output.
Standard: Best for quick previews and social media drafts.
High Definition (HD): Ideal for high-quality website assets and professional lookbooks.
Aspect Ratio: Adjust the dimensions of your image to fit your intended platform:
Portrait (2:3 / 9:16): Perfect for Instagram Stories, TikTok, and mobile shopping apps.
Square (1:1): The standard for Instagram feeds and e-commerce product thumbnails.
Landscape (16:9 / 3:2): Best for website hero banners and cinematic presentations.
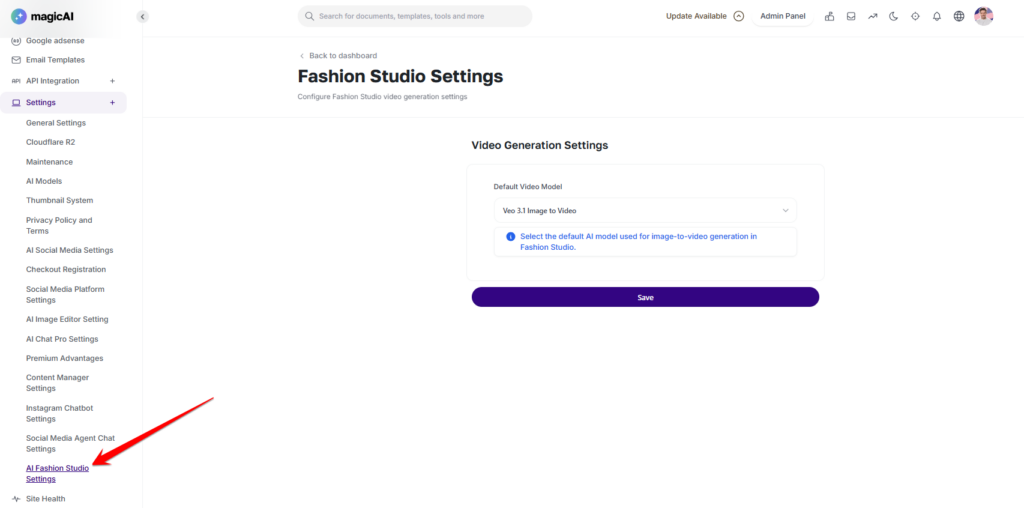
Admin Settings
The Admin Settings panel provides high-level control over the platform’s generative capabilities. As an administrator, you can manage which AI model powers the video generation feature to balance quality, speed, and cost-effectiveness for your users.
Managing the Default Video Model
In the Video Settings section of the Admin Dashboard, you can select the “Active” model that will be used for all user requests.
Selection Tool: Use the dropdown menu to see a list of available video models.
Impact of Selection: Once a default model is selected and saved, all subsequent “Generate Video” requests from users will be processed using this specific engine.
We hope you enjoy using the Fashion Studio add-on and that it helps you bring your creative visions to life. We can’t wait to see the incredible designs and photoshoots you create!